
Being a businessman, I often have toolkits and other objects that I take with me to clients’ sites. These kits can be quite valuable, and accidentally leaving them at the clients’ sites without identification could result in a loss of tens or hundreds of dollars. A while back, this led me to find a solution to that problem, and doing so with something that’s weatherproof and sturdy.
Almost every businessperson has business cards, so why not try to use a card in the personalization process, I thought? I ran across some Samsonite® self-laminating luggage tags at the local OfficeMax, and I use Command™ adhesive strips by 3M for various things. This led me to try using a business card inside a laminated luggage tag, attached to the item to be personalized with a Command™ adhesive strip. It worked, and quite well, in fact! Also, by using the Command™ adhesive strip, if the card needs to be removed from the personalized item at any point, it can be done quite easily and cleanly! Bonus!
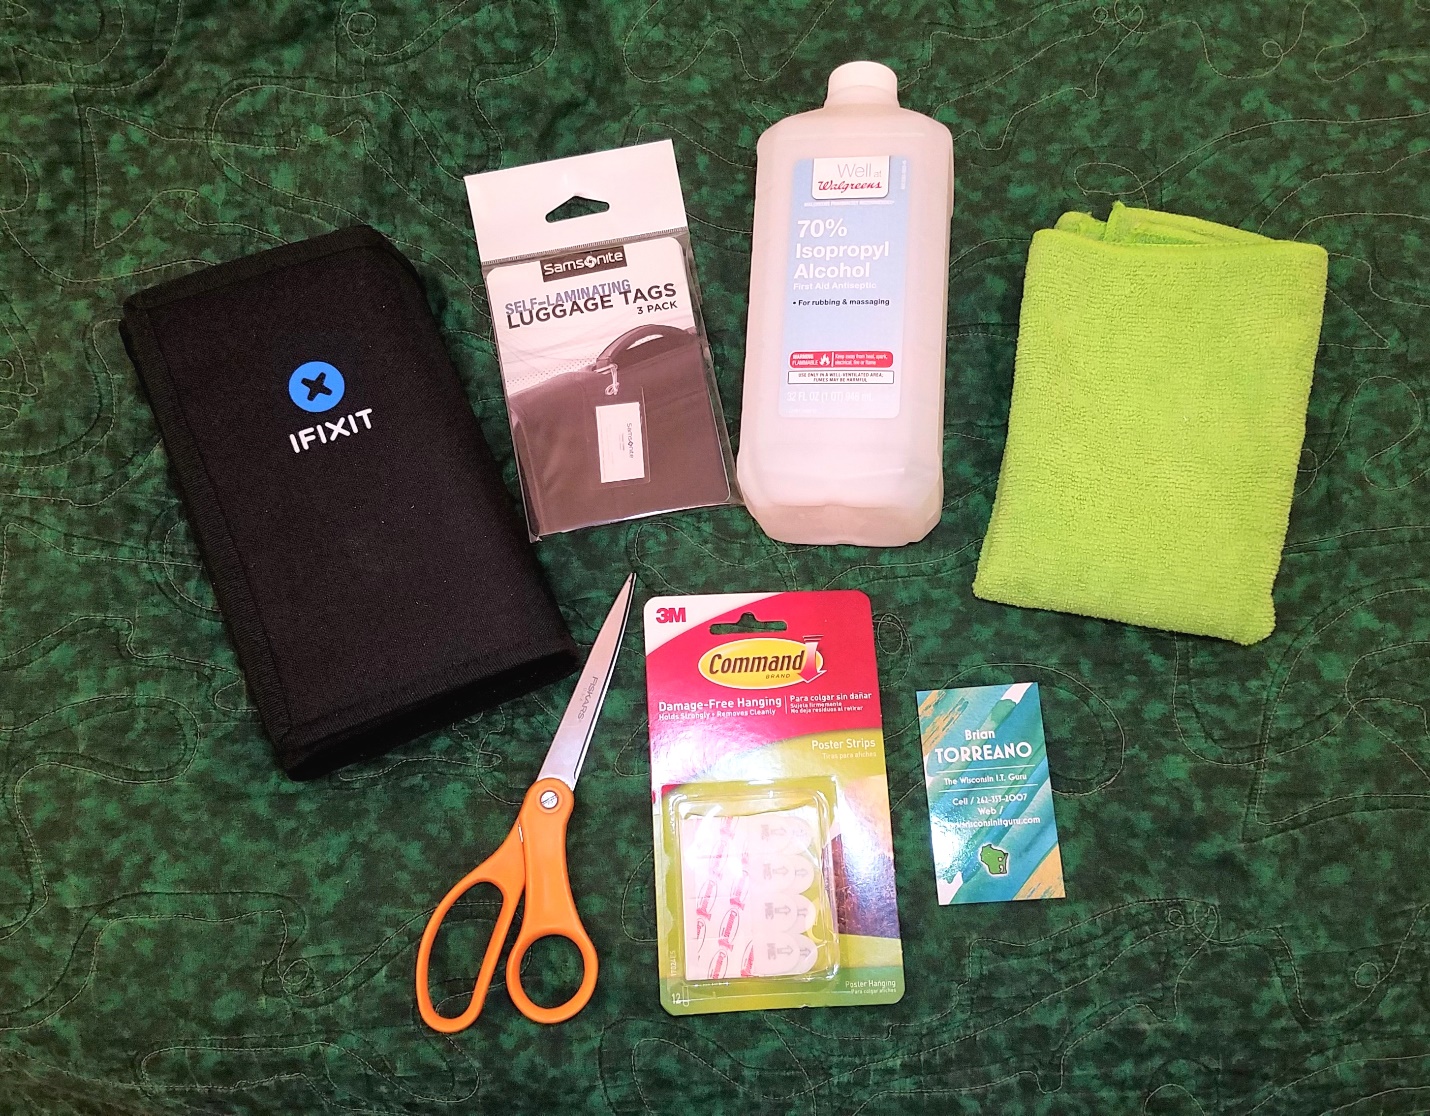
If you want to personalize something, here’s a list of materials you will need. Please note that these are the brands I used. You may achieve similar results with other branded products.
- The item to be personalized (in my case, the iFixIt toolkit).
- One of your business cards, or a tag with your information on it, about the size of a business card.
- Self-laminating luggage tags.
- Command™ adhesive strips.
- 70% Isopropyl alcohol.
- A microfiber cleaning cloth.
- A scissors.
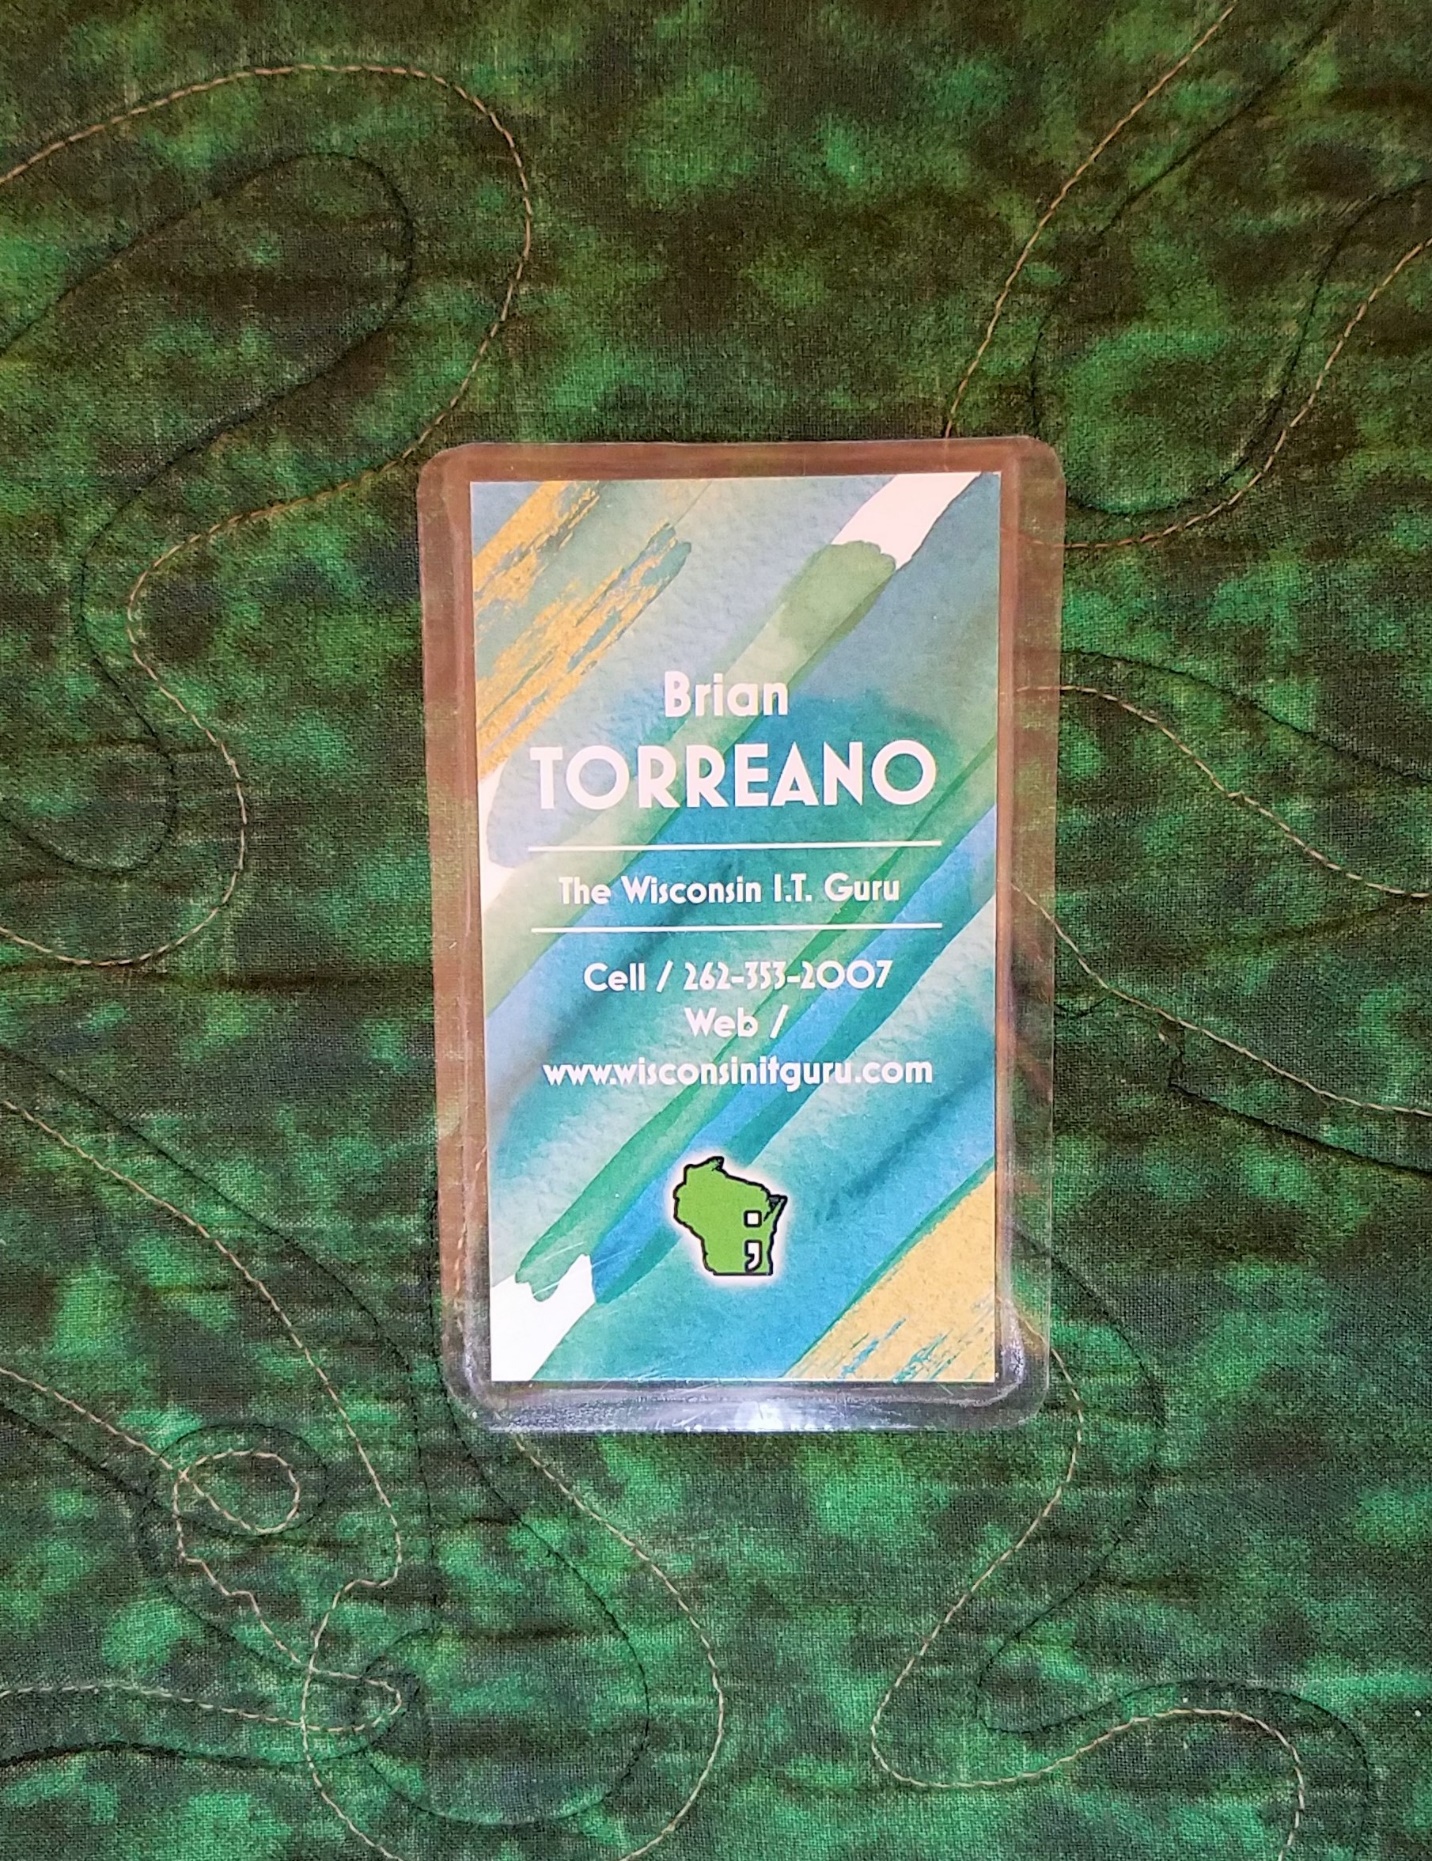
Firstly, make the business card / luggage tag combo, following the manufacturer’s instructions. The Samsonite® self-laminating luggage tags that I found at the local OfficeMax cost just under $5.00 for a three-pack.
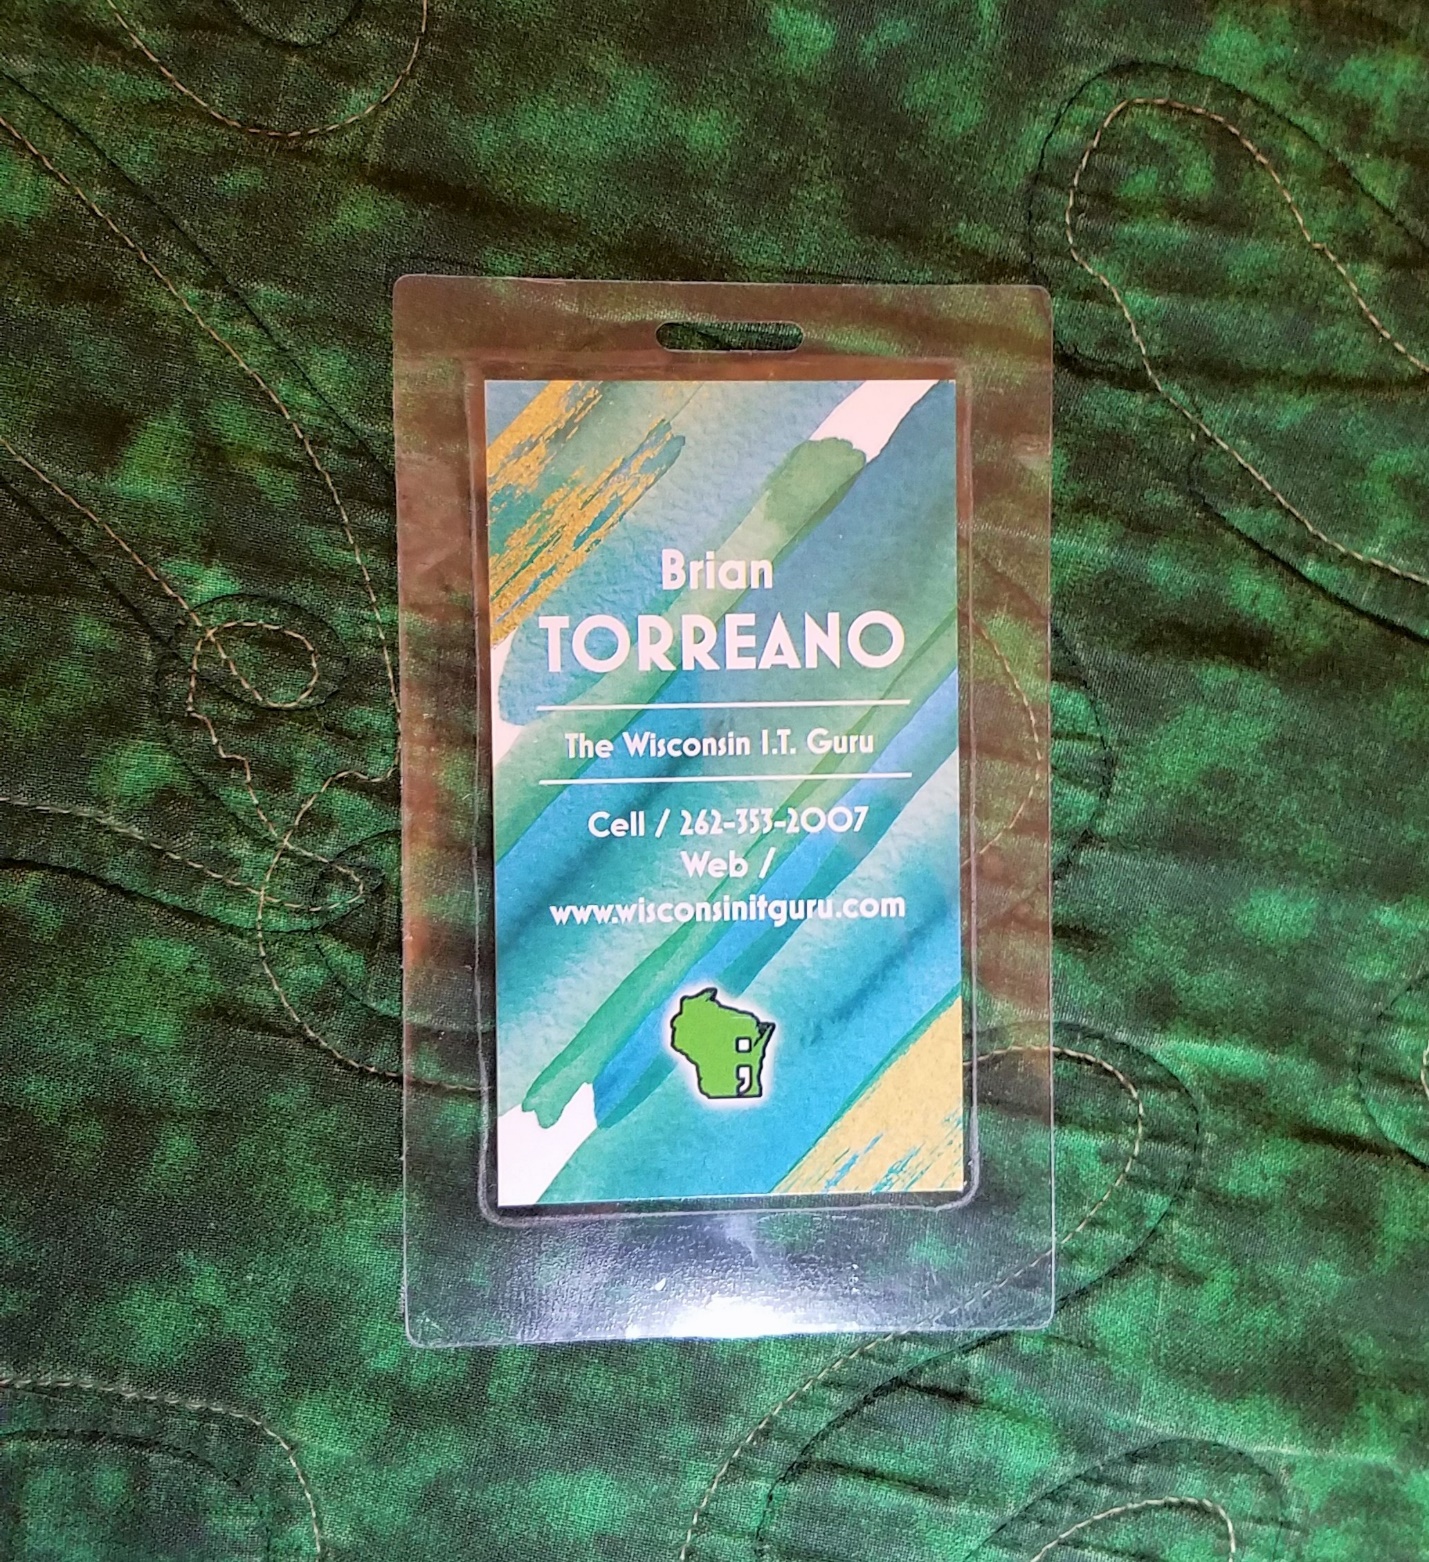
Secondly, and this is optional, trim the assembly down to remove excess tag from around the edge of the card. Be sure to leave enough of a border, though, because as you can see in the picture, the lamination doesn’t adhere right up to the edge of the business card.
Thirdly, put some isopropyl alcohol on the microfiber cleaning cloth and wipe down the surface of the item to be personalized, as well as the back of the laminated card. If you think that isopropyl will damage the attachment surface, test it on a small portion of the item before following this step.
Using isopropyl will remove any oils from your hands and other substances that could lead to bad adhesion of the card to the item to be personalized.
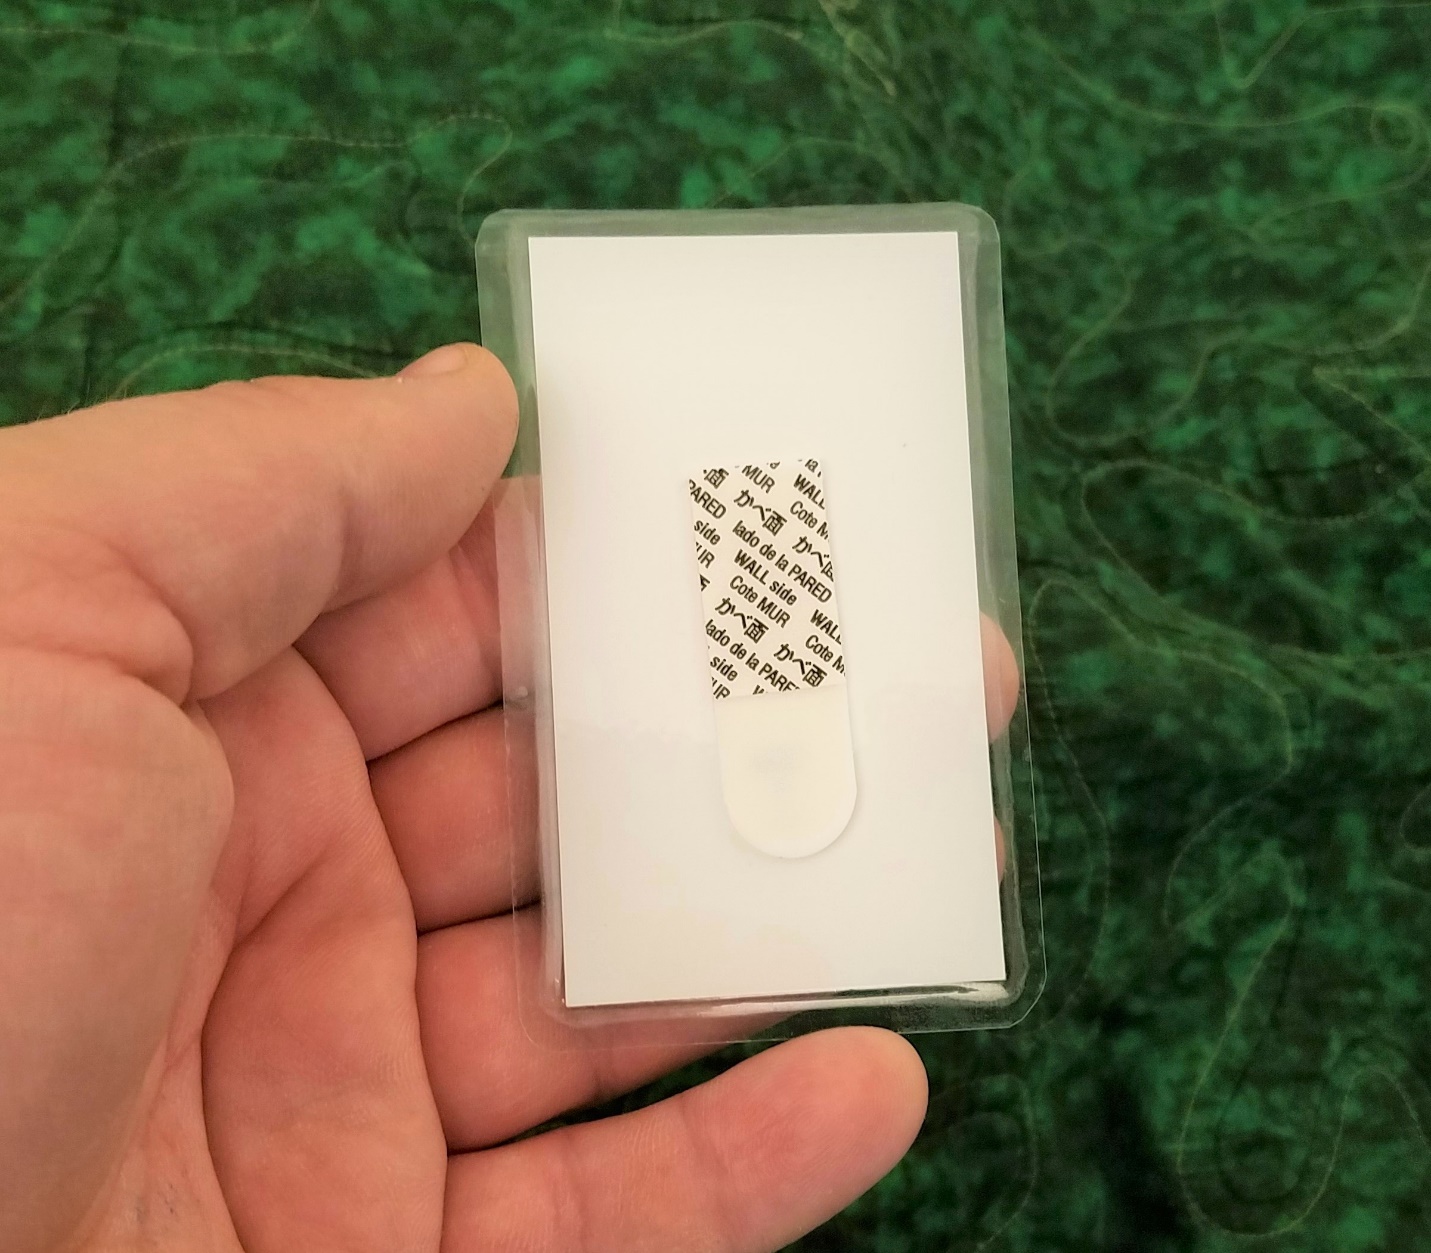
Fourthly, remove one Command™ adhesive strip from the package and attach it to the back of the card, following the manufacturer’s directions. For even better adhesion, you can use two strips.
PLEASE NOTE: for adhering to fabrics, such as the toolkit in this explanation, the best Command™ adhesive strips to use are the ones that have a TWO-STEP adhesion process. Those are the ones, for example, that tell you to adhere the strip to the back of the item to be attached, push the strip and the item together for 30 seconds, and THEN, remove the secondary backing from the strip and hold the whole apparatus together for another 30 seconds. Strips that have a one-step adhesion process may be suitable for flat surfaces, such as glass, but in my experience, only two-step strips work for fabric.
Fifthly, remove the remaining backing from the strip and adhere the card apparatus to the item to be personalized, again following the manufacturer’s directions. Please note that the card will adhere quite well right away, but you will want to wait at least an hour before you subject the attached card to significant stress.
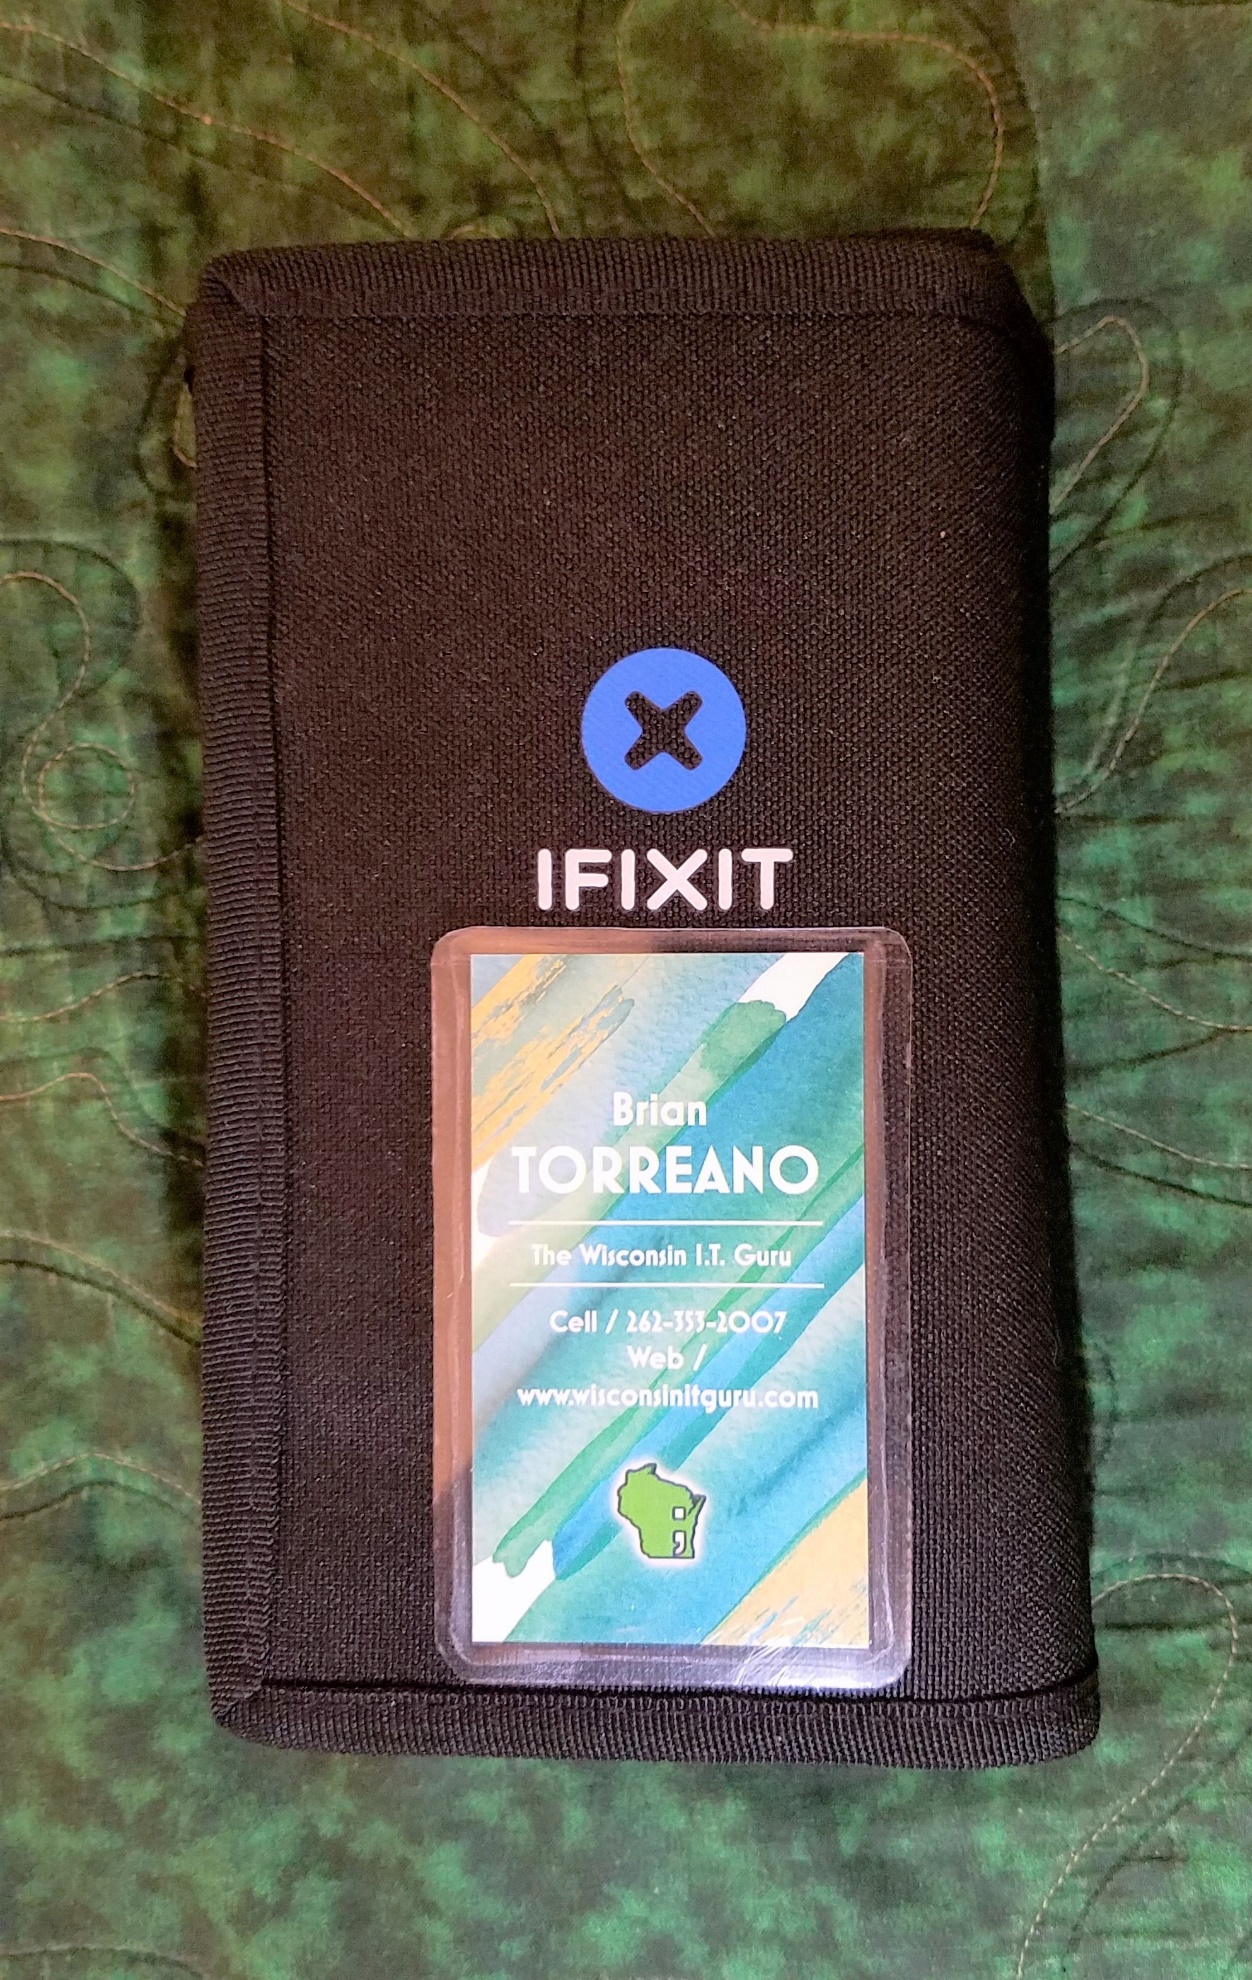
If everything has been done correctly, you should have a personalized item, as in the photo below! And, if you had most of the items on-hand already, it cost you under $5.00! How cool is that!! ![]()
For removal of the tag at a later date, simply bend up the edge of the tag with the non-adhesive portion of the Command™ tab and pull on the tab parallel to the surface of the adhered item until the strip separates from the surface.
Please Note: Usage of company logos and descriptions in this document do not necessarily represent endorsement by those companies of Brian J. Torreano, or the Wisconsin I.T. Guru’s products or services.