

Graphic Design
The photo at the top of the page is an example of my ability to “Photoshop”. It was created from a picture of myself on a cloudy day, overlaid on top of an image of a man looking at a landscape picture. Here are the two original pictures:


Another Example of My Photoshopping Ability
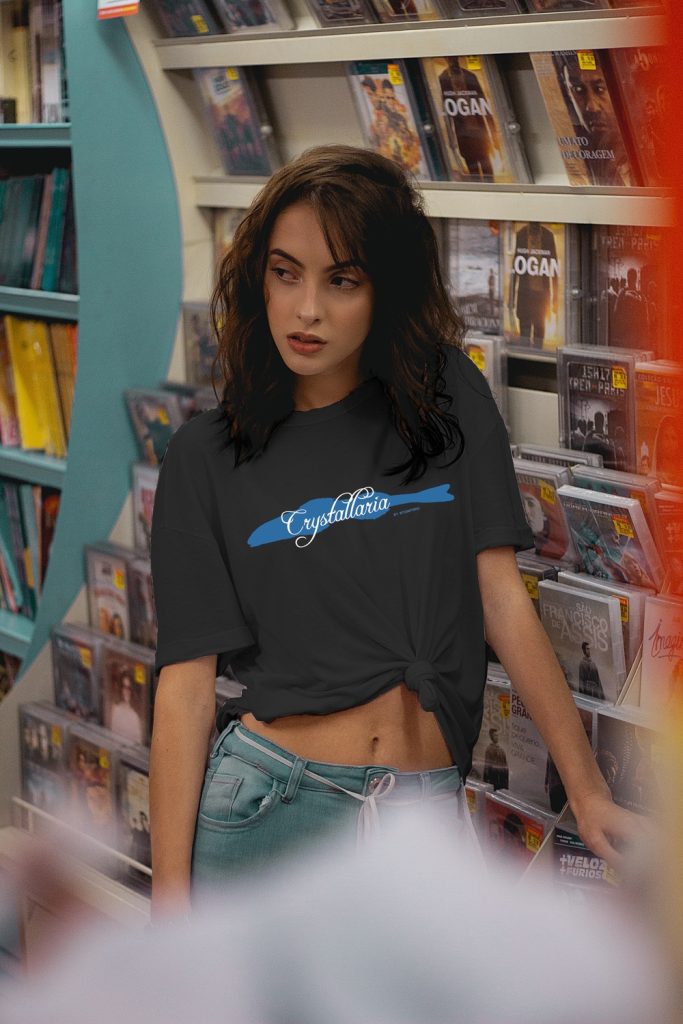
Here is another example of my ability to photoshop. The original image is of a woman in a white t-shirt. I changed the color of the t-shirt to black, and added a graphic depicting a fish, which I also designed.


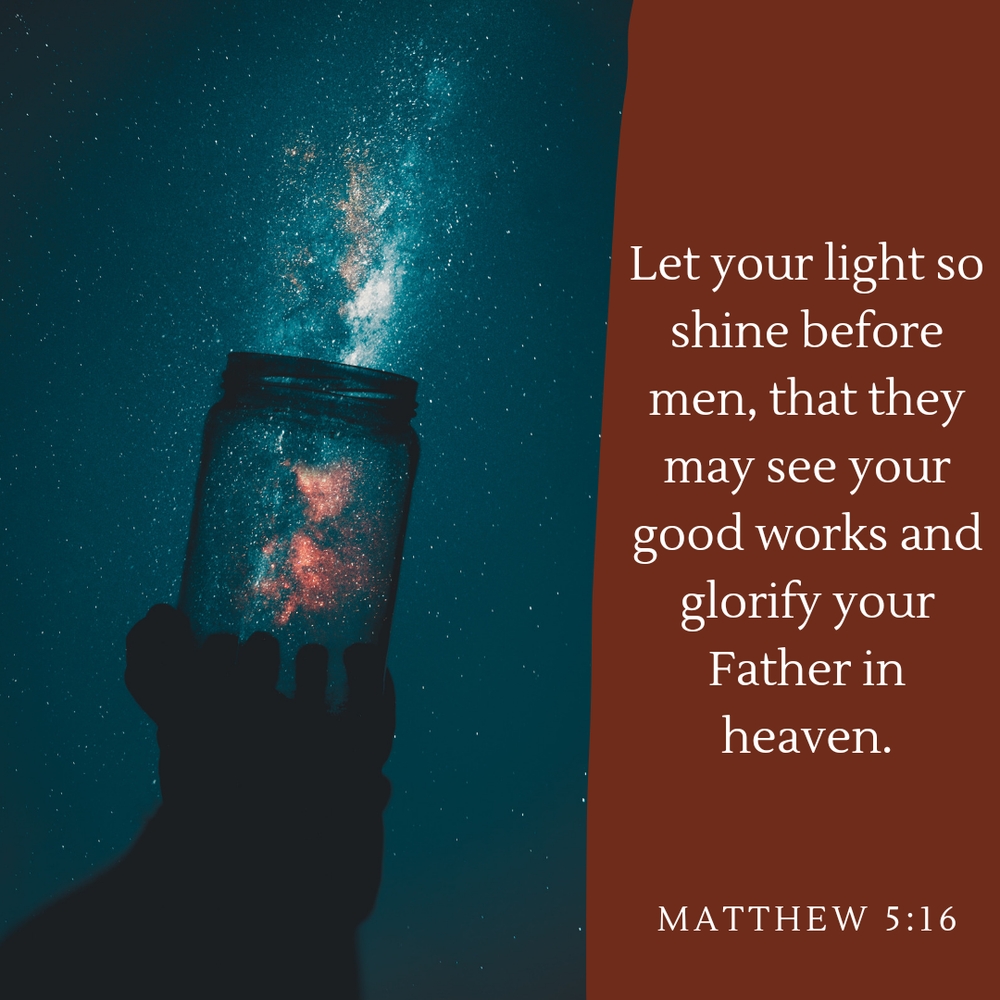
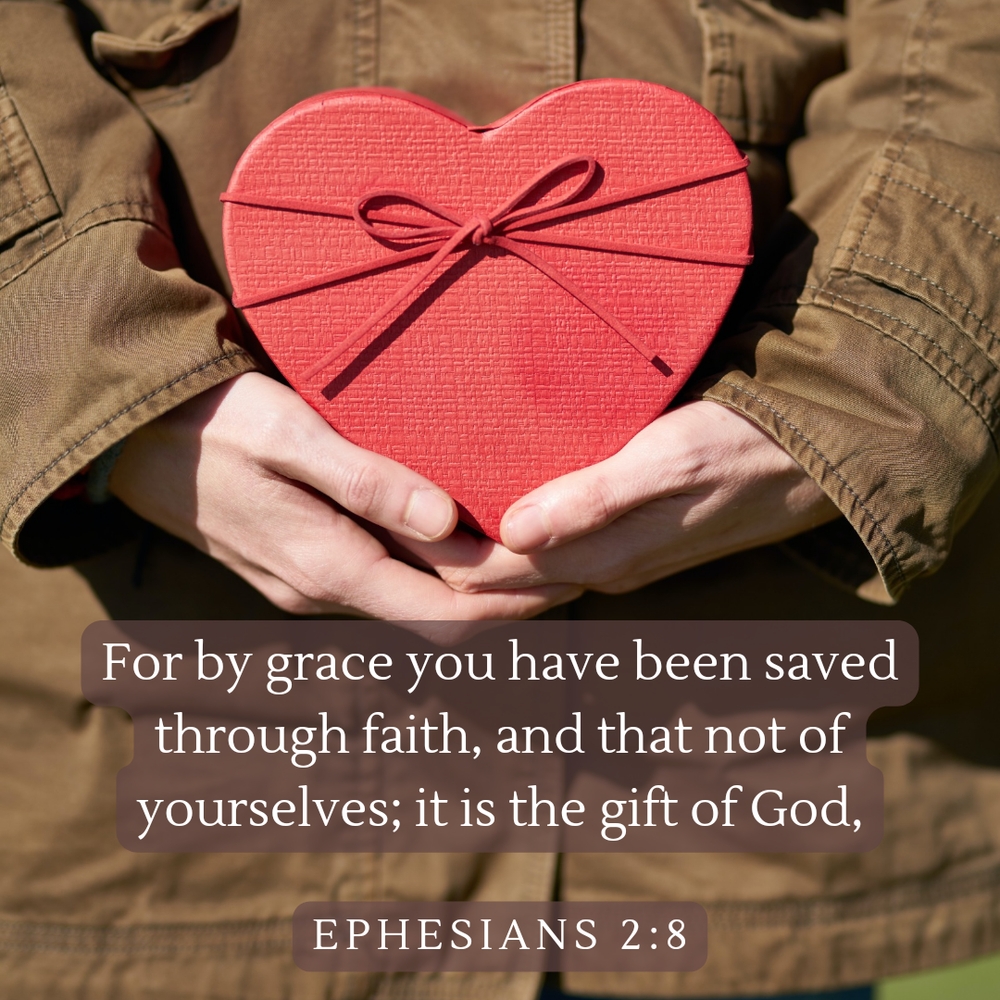
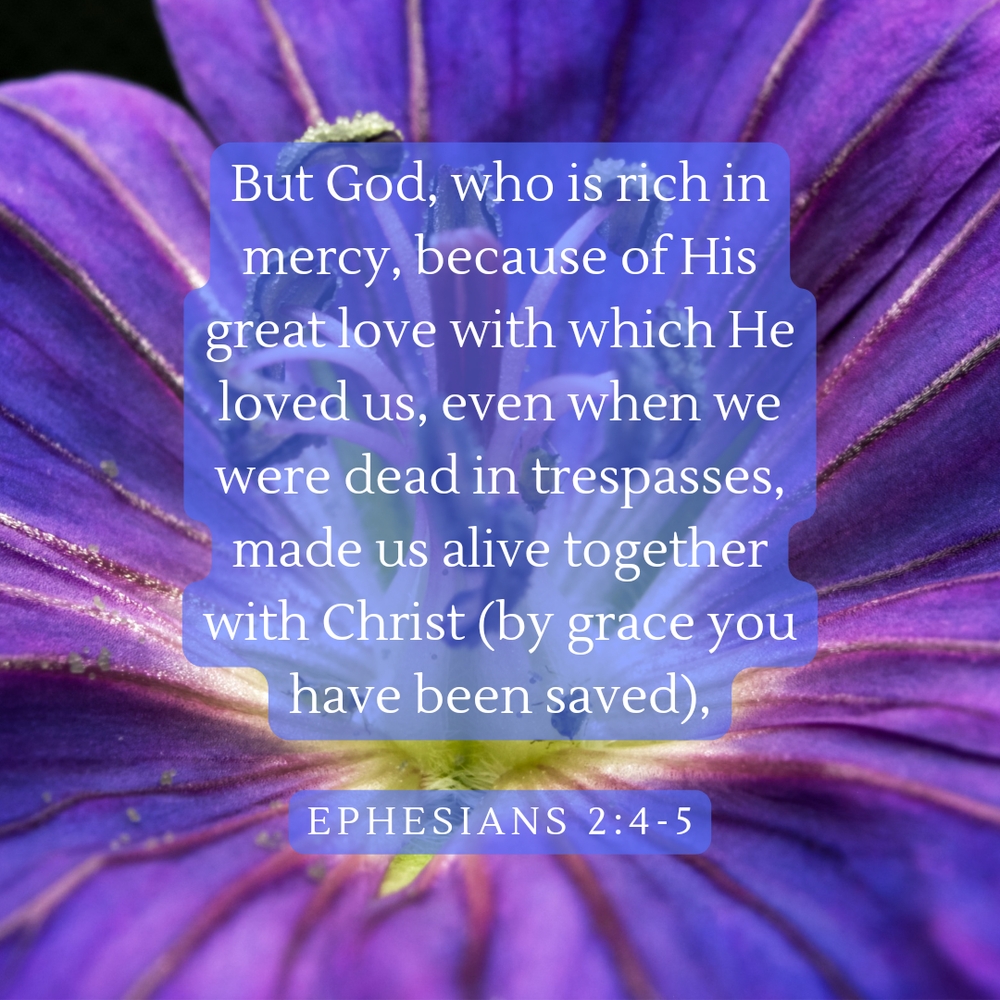
Bible-Verse Memes
Since July of 2022, I have been making Bible-verse memes. I make them using scripture and stock image photography (with permission), and sometimes with images I have taken. I send the memes to my friends, post them to Facebook and the church that I attend also posts some of them to their Facebook page! Having lived in a Spanish-speaking country, the memes are made in both English and Spanish. I have placed some English examples below, as well as a Spanish-version example.


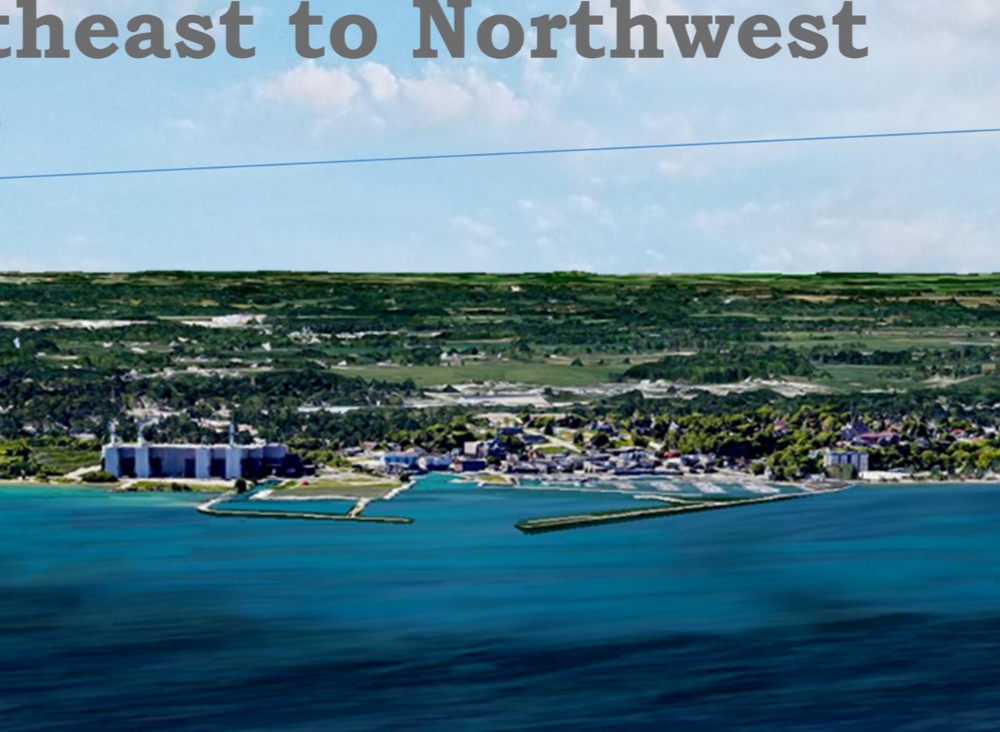
Shipwreck Education and Preservation Alliance (SEAPA) Creation of Figures
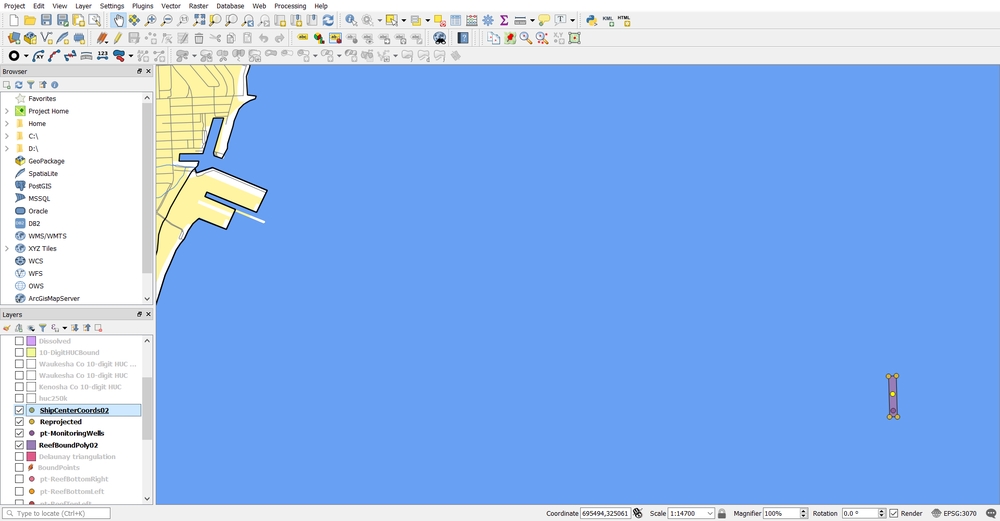
In this project, I was tasked with creating a visual representation of a sunken ship and fish spawning reef area that was proposed by the Alliance. Firstly, I modeled the proposed working area in QGIS, in order to give me an accurate representation of where the reef site would be.
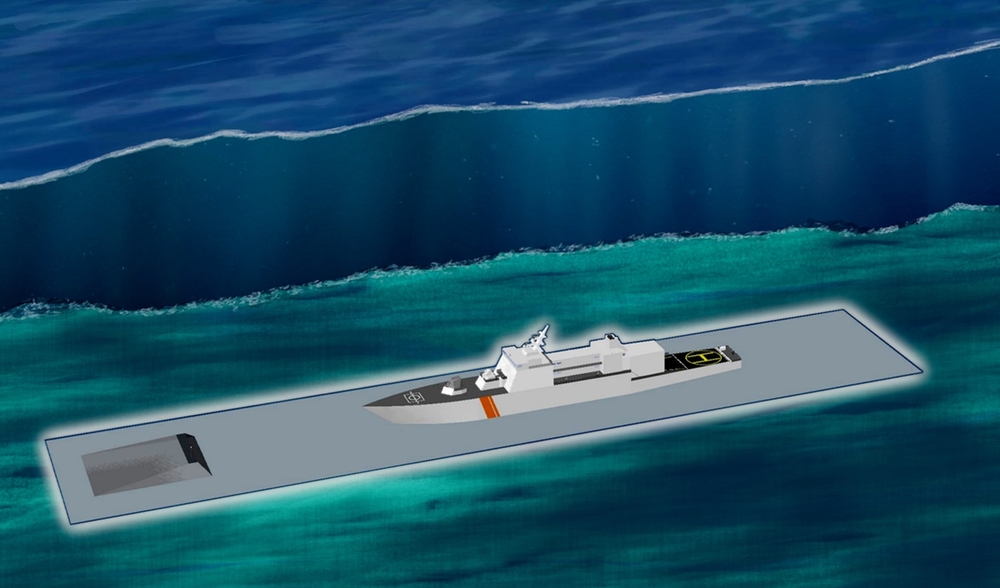
Next, I mocked-up the shipwreck and reef area in Trimble Sketchup to use as base information for the project.

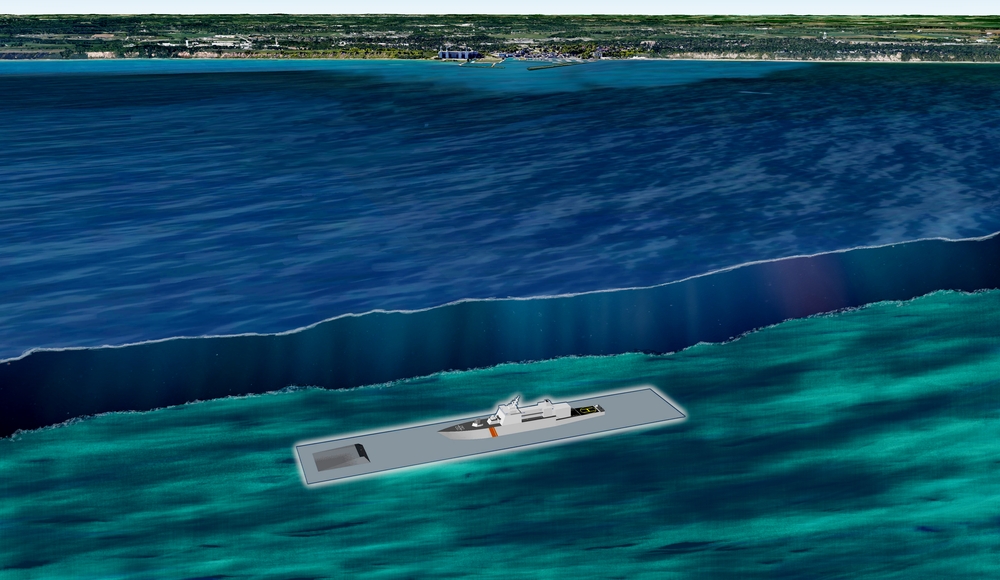
In order to create the greatest visual impact, I brought the modeled parts into Google Earth.

At this point, I had to do a lot of photoshopping of the image. Though it was very high resolution, there were parts of the image that had to be removed, parts to be cleaned up and I had to include visual cues that the shipwreck was under water. I brought the image into the GNU Image Manipulation Program (The GIMP) and spent several hours performing the needed tasks.
Now, I had to create a “figure” from the image. I added the Alliance’s logo, added other descriptive text, an approximate scale, and a few other necessary features.
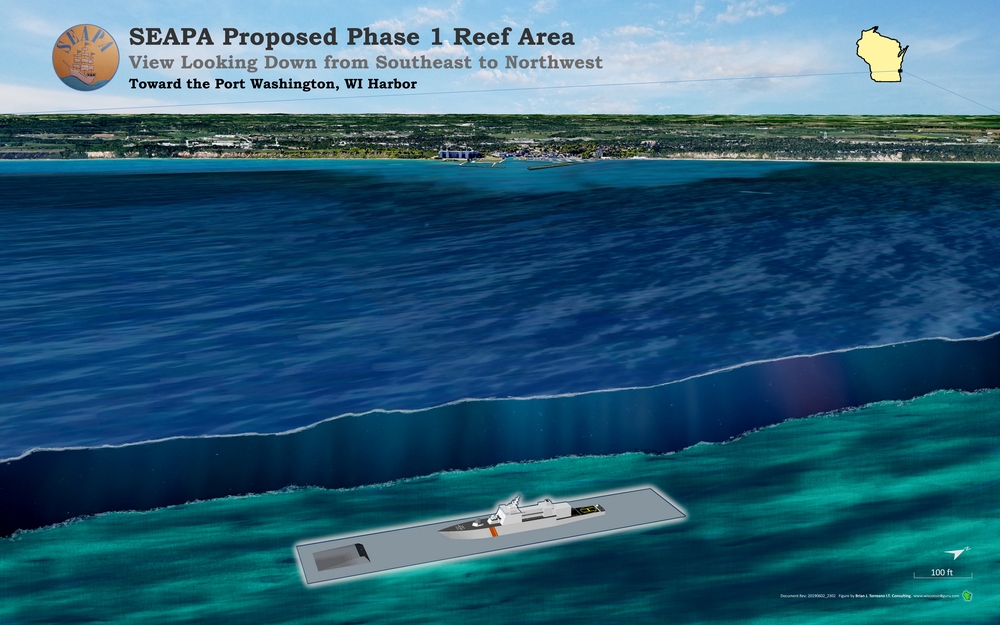
The final figure ended up measuring 50 inches (127 cm) in width! The customer was very pleased with the result! Please see below two examples of the detail to which this figure was created.
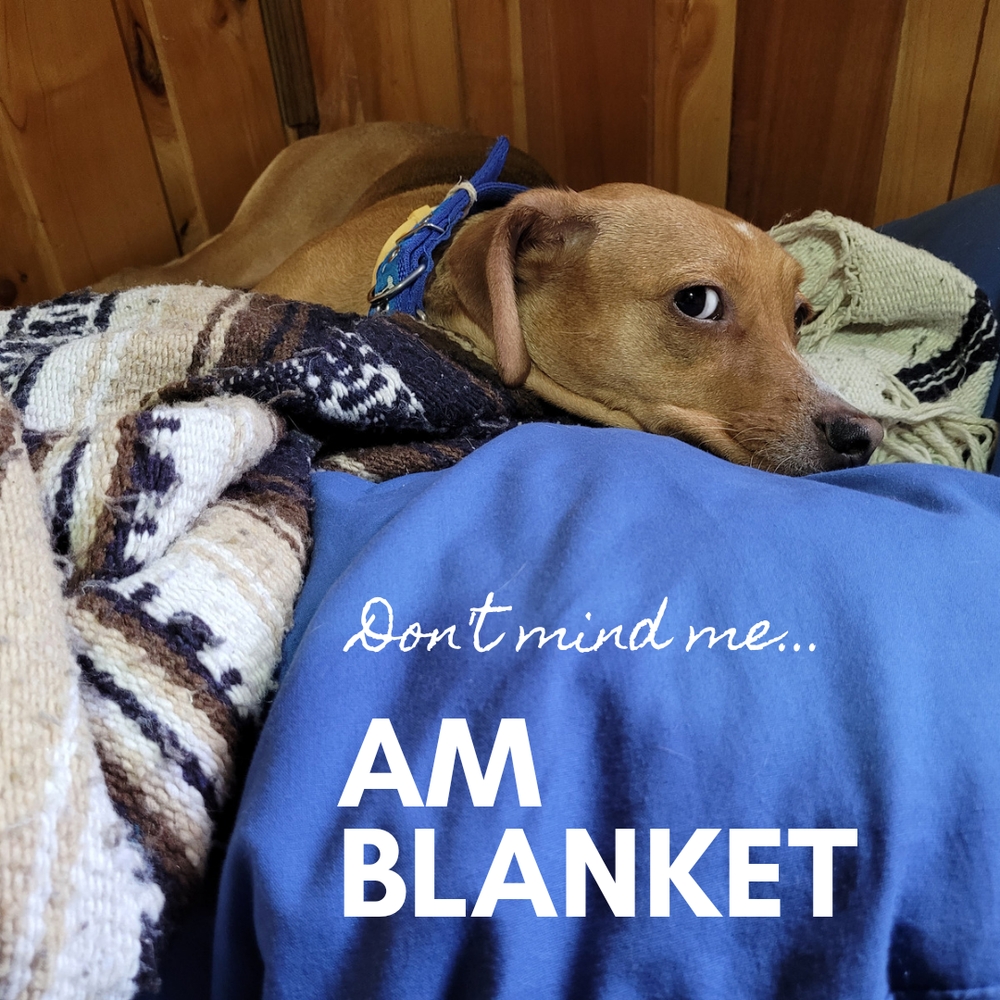
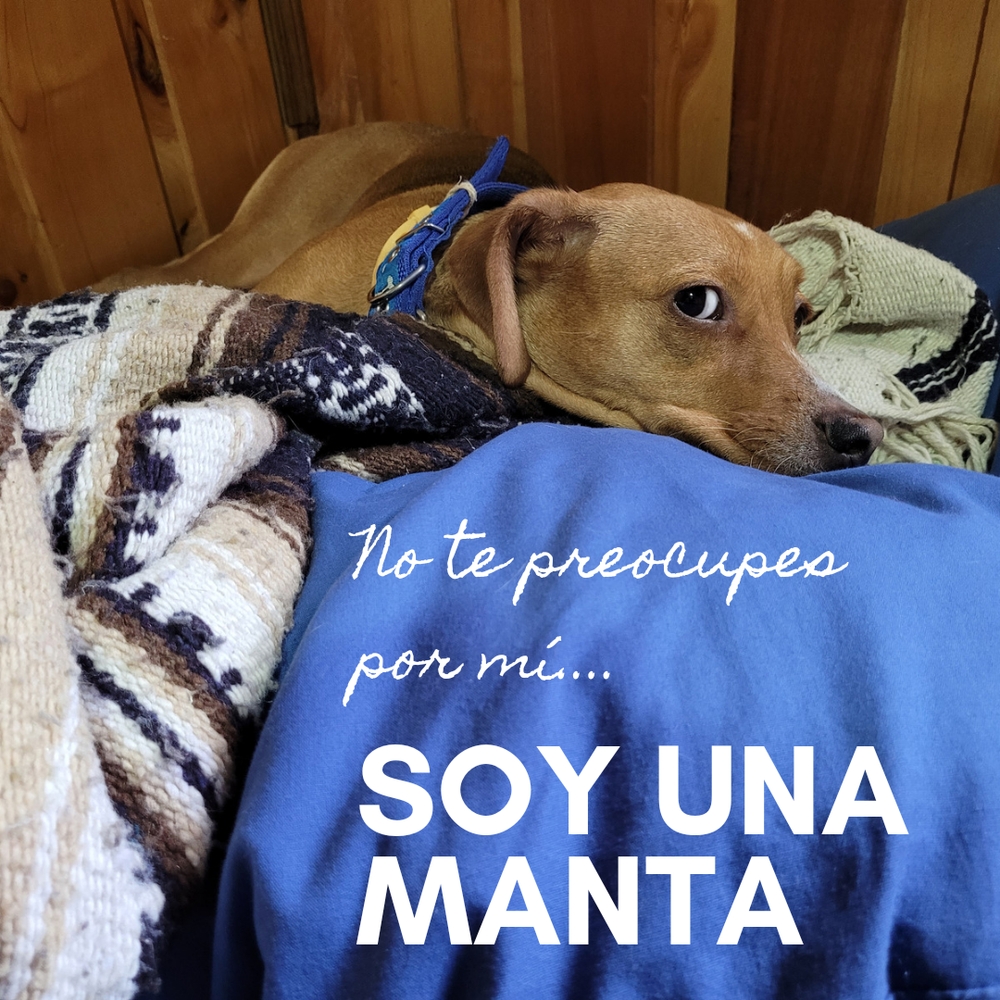
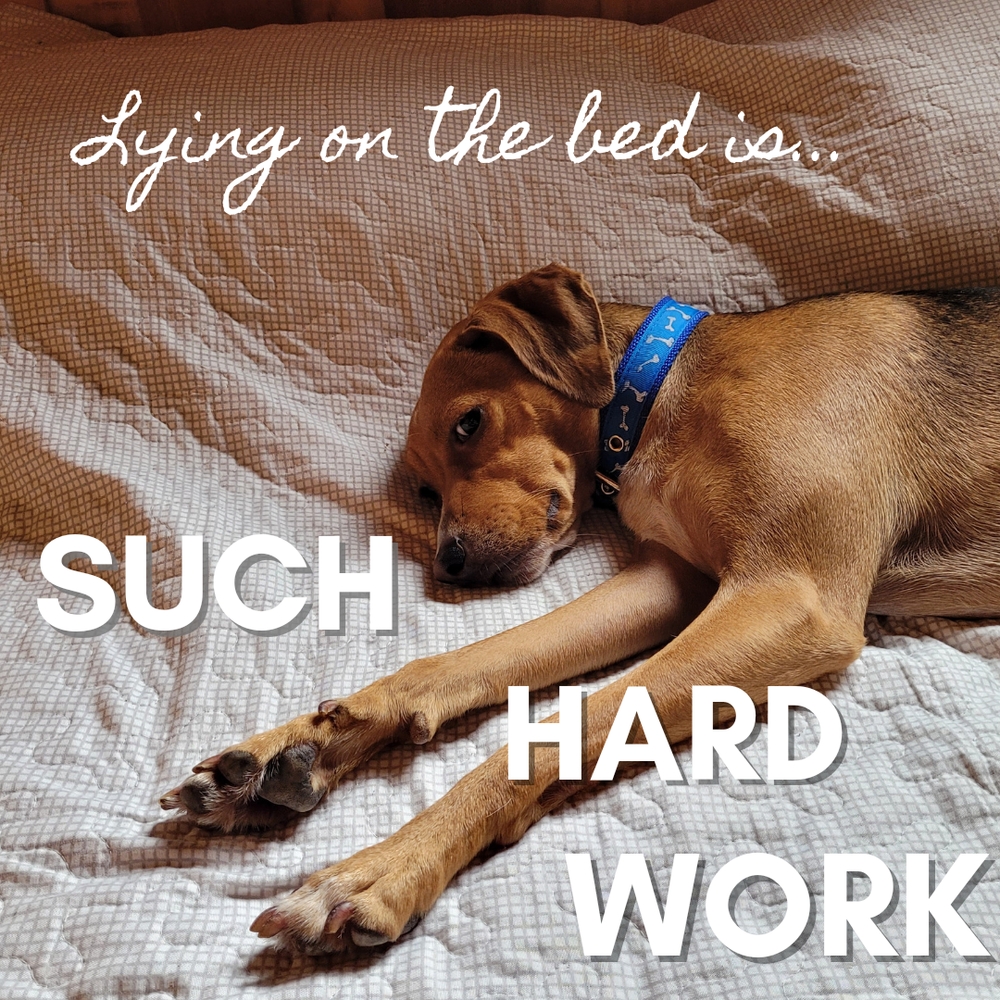
Memes About My Dog, Kiara
Who doesn’t like a good doggo meme? I make mine in English and Spanish.

Banner Images for My Other Website
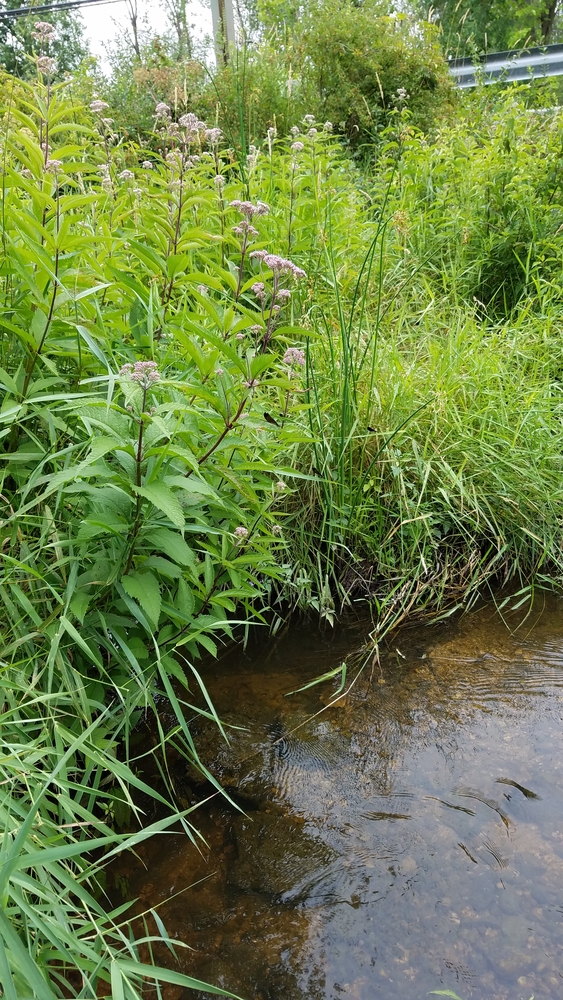
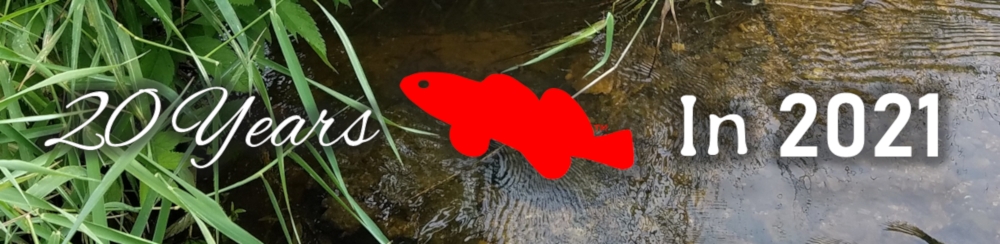
Below is an example of an email banner image that I made for my other website, BTDarters. I used a photo I took along a stream where I collected fishes, along with BTDarters’ logo and some fancy text editing.
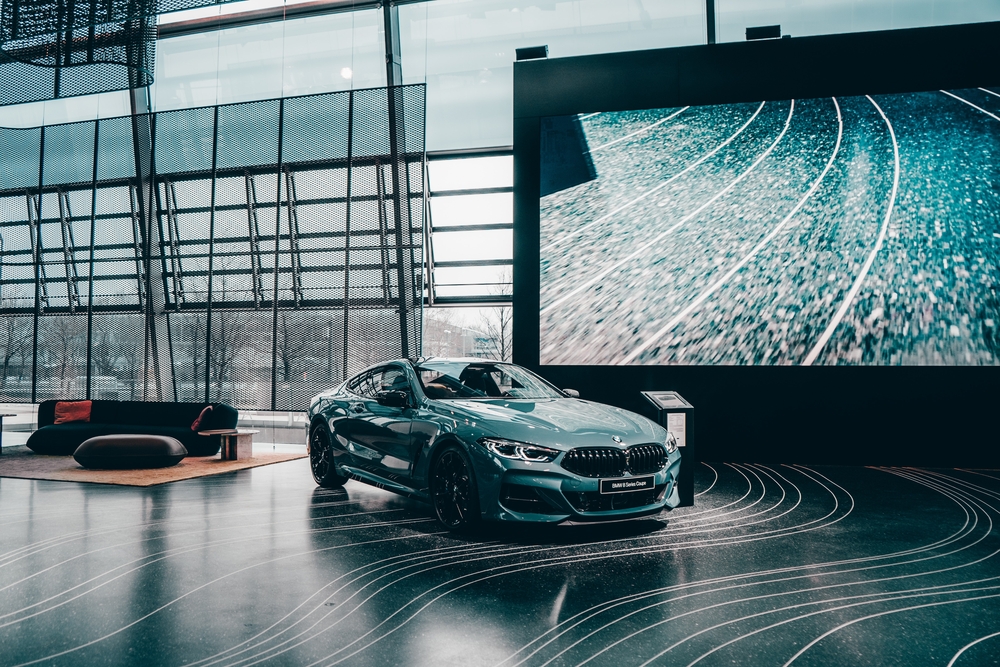
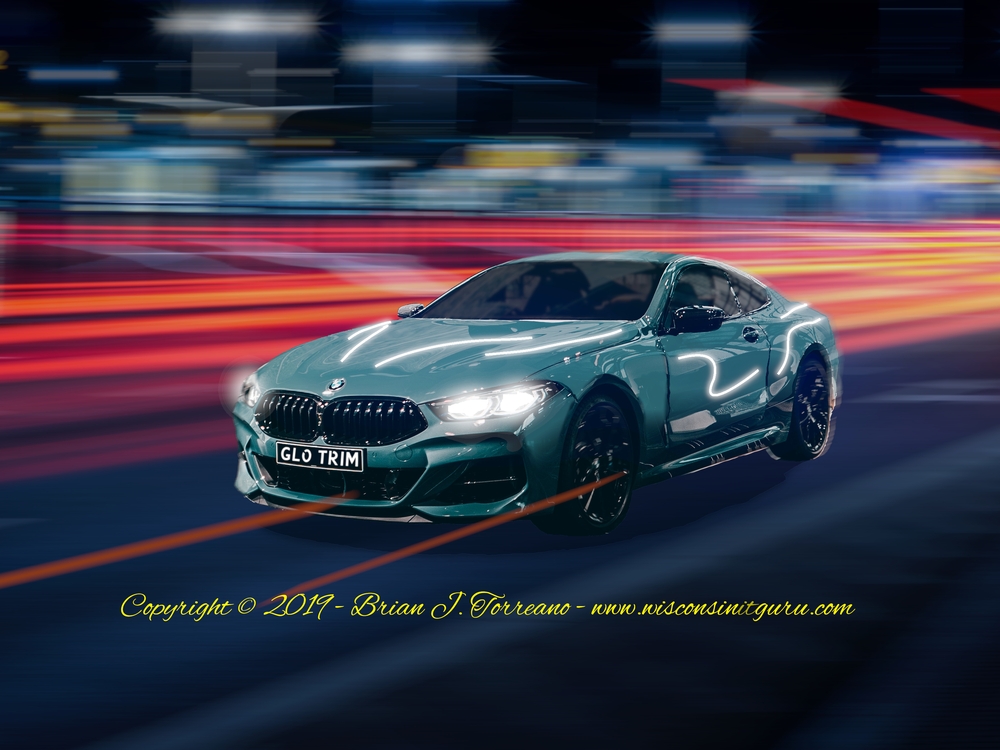
GloTrim™ Concept Automobile
For this project, I was tasked with making a concept automobile for a car accessories company called GloTrim™. GloTrim™ is LED-powered flexible automotive trim. I used a stock photo of a BMW, a stock photo of a busy street at night, and “mashed them up” to create the concept art.

Senior Editor of American Currents Magazine
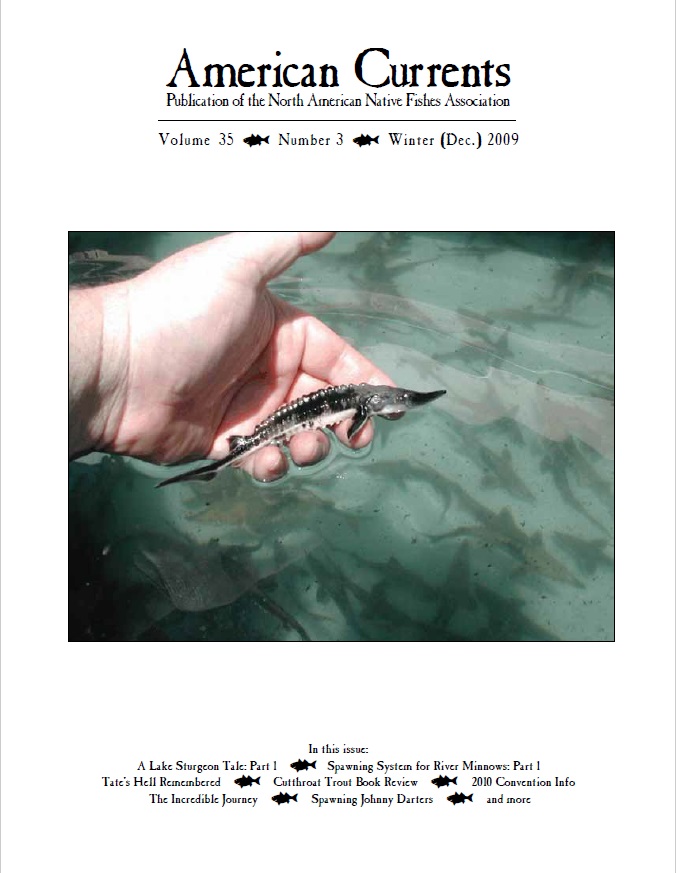
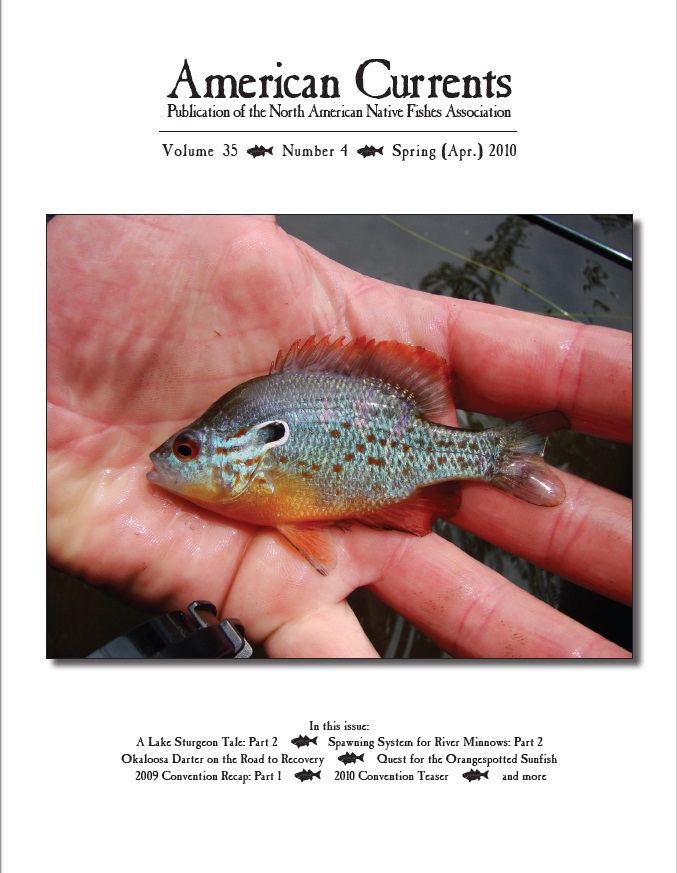
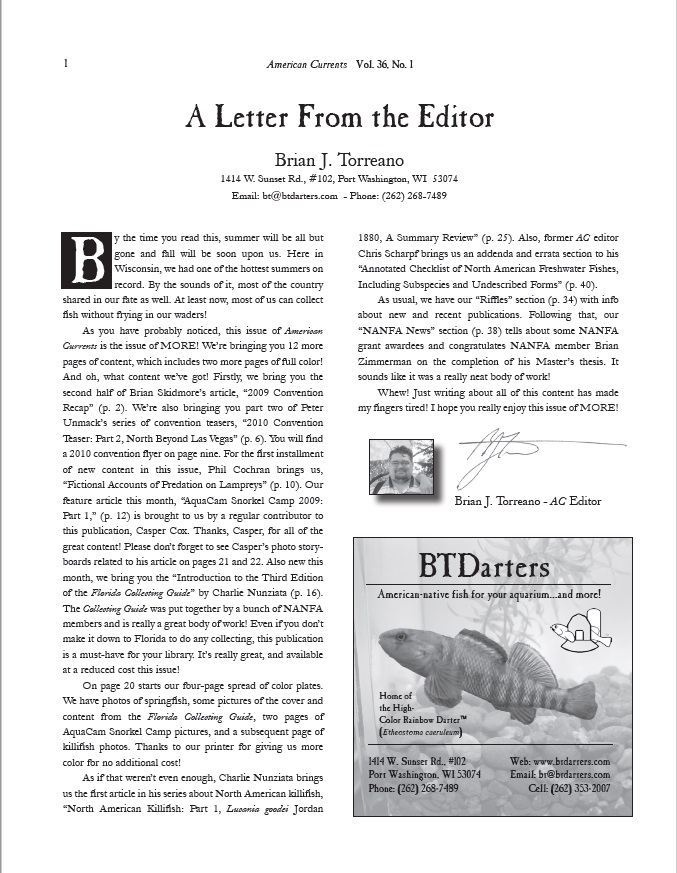
For many years, I was an associate editor of the print publication American Currents. And for three issues, I was senior editor. I did everything from reading and reviewing articles, to creating graphics, to creating copy for the publication. And, of course, layout and editing. Please find below the covers of the three issues I was senior editor for, a copy of one of the “Letter from the Editor” pages. You can find a full PDF copy of my most recent issue here.
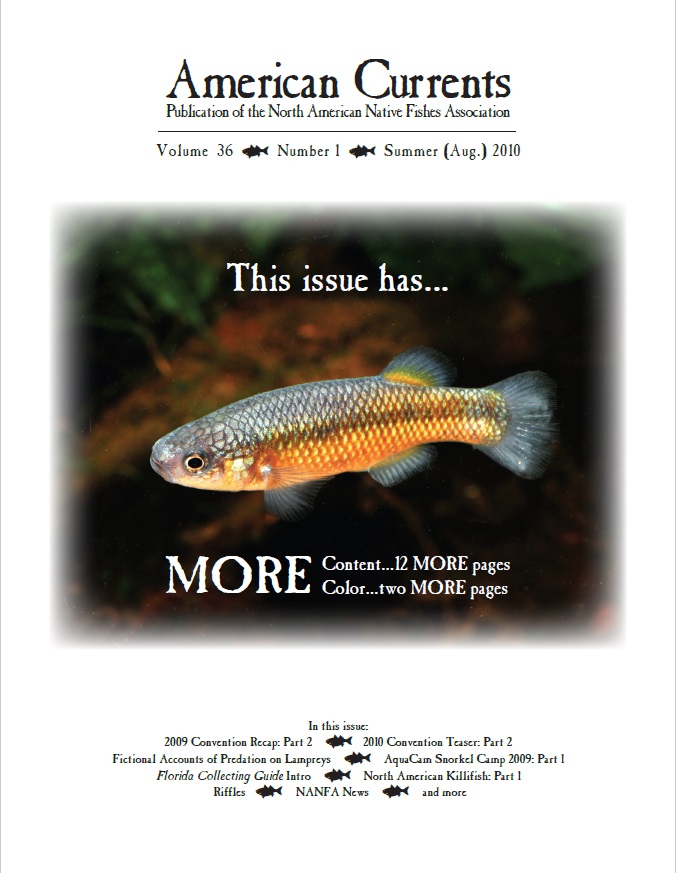
Again, here’s the link to the full issue of Volume 36 Number 1.
UI/UX Design/Designer
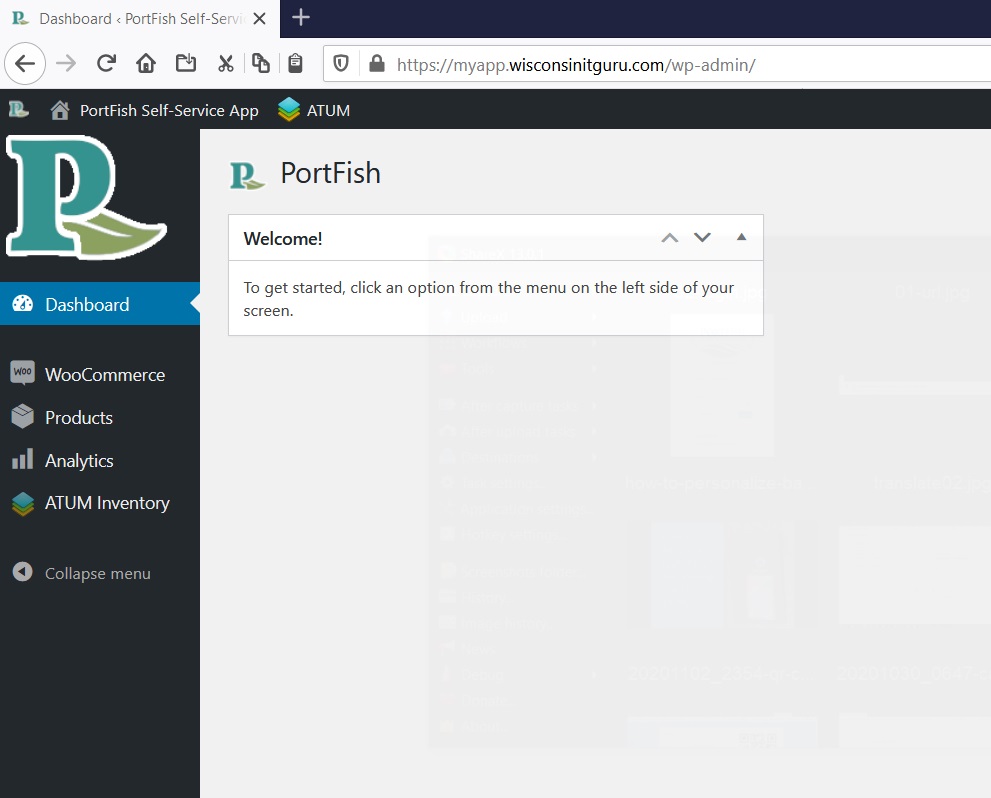
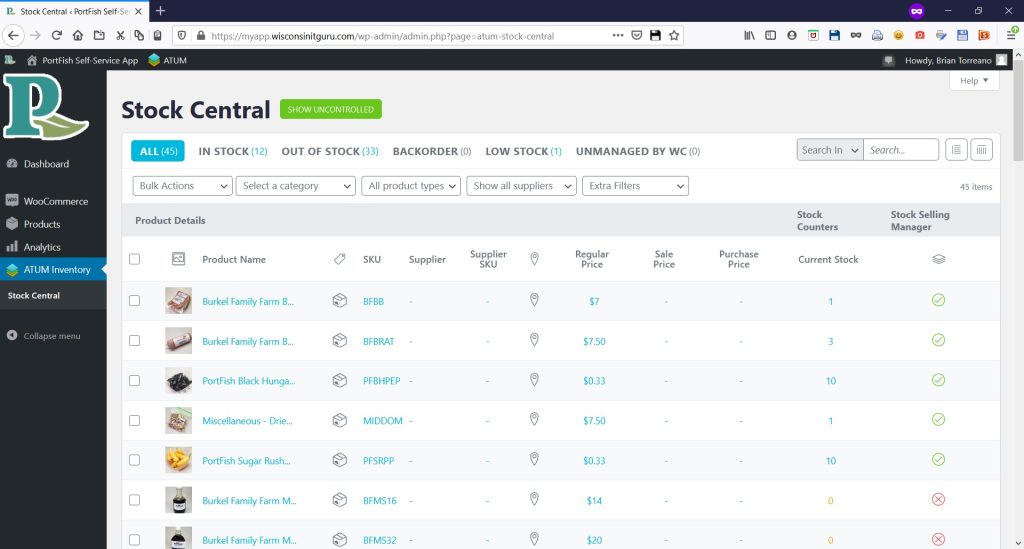
The PortFish Progressive Web App (PWA)
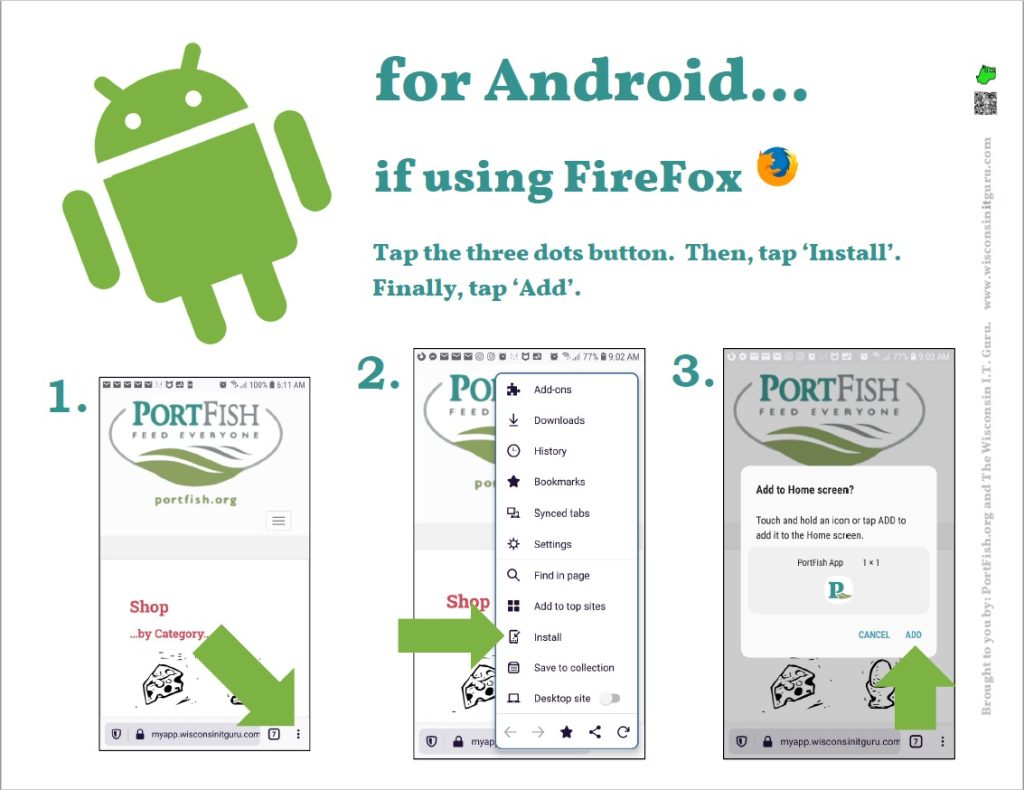
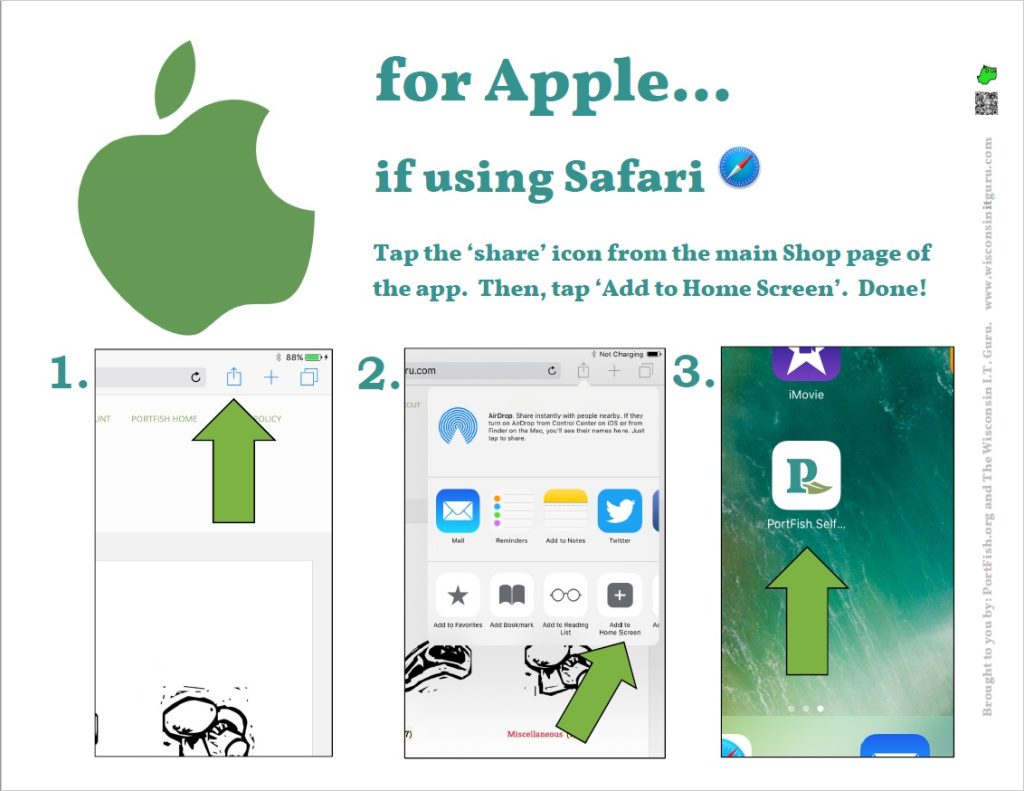
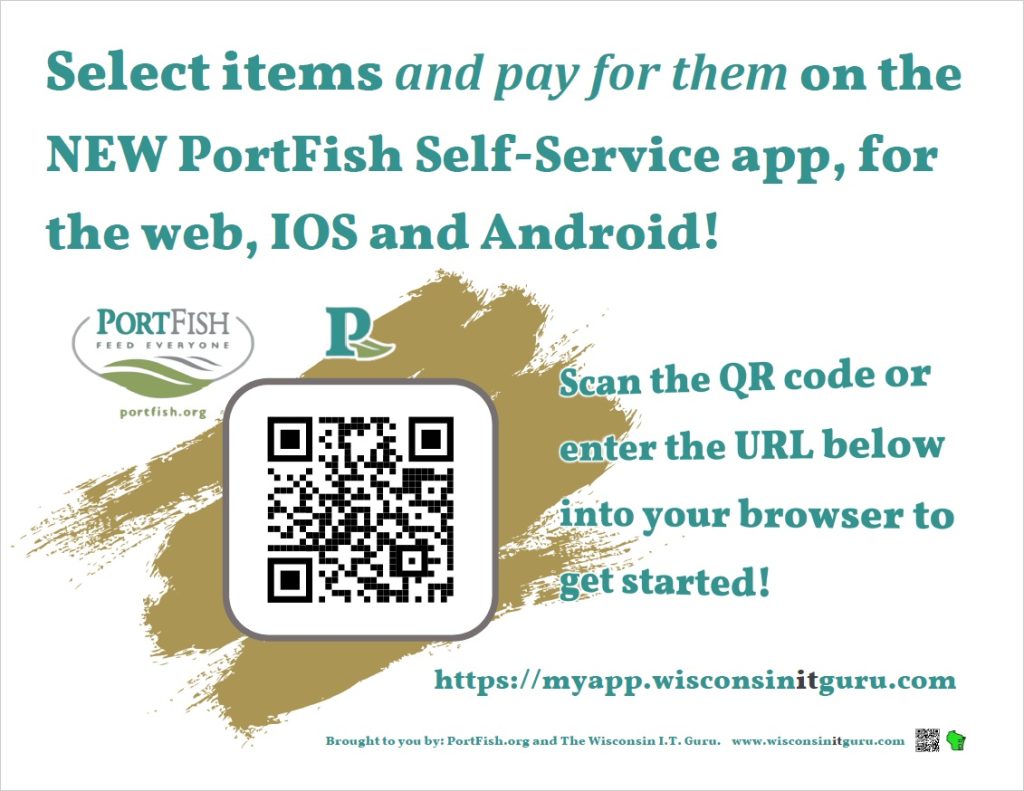
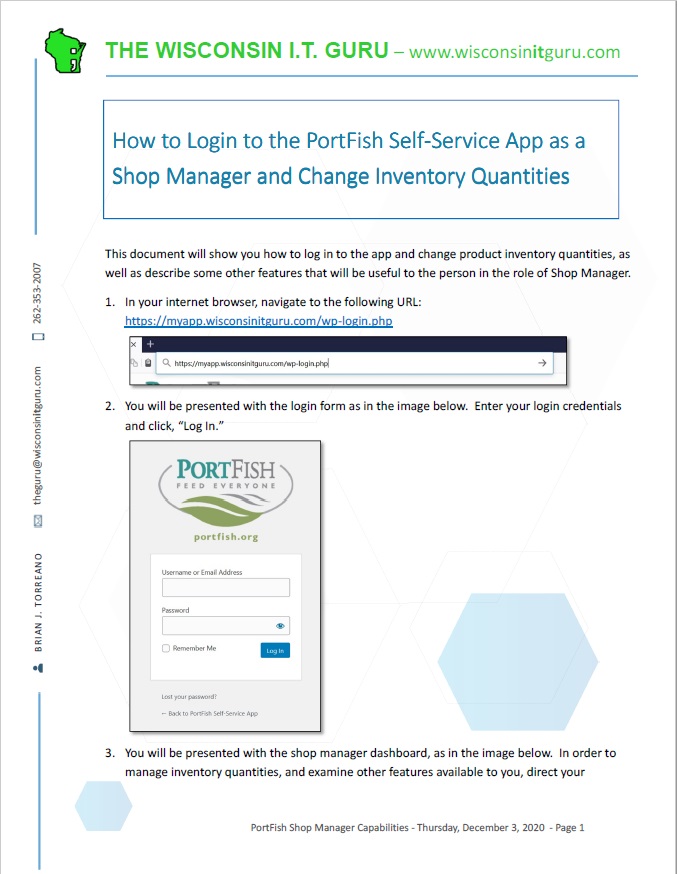
For this project, I was tasked with making an online-sales app for the company PortFish in Port Washington, Wisconsin, USA. I chose to make the app a Progressive Web App, as the user would have to be logged on to the internet to make purchases anyways. I designed the user portion of the app, and the backend as well. Through the backend, the shop admin was able to change product quantities, change product prices, check orders, check inventory, etc. I also made user documentation, in order to help customers at the purchase location download, install and use the app.
PLEASE NOTE, IN ANY LINKS BELOW, DO NOT GO THROUGH THE PROCESS OR MAKING PURCHASES IN THE APP. THAT IS, UNLESS YOU ARE GOING TO DRIVE TO PORT WASHINGTON, WISCONSIN AND PICK UP YOUR PURCHASES!
Bigsby’s Sewing Center Web Shopping Cart
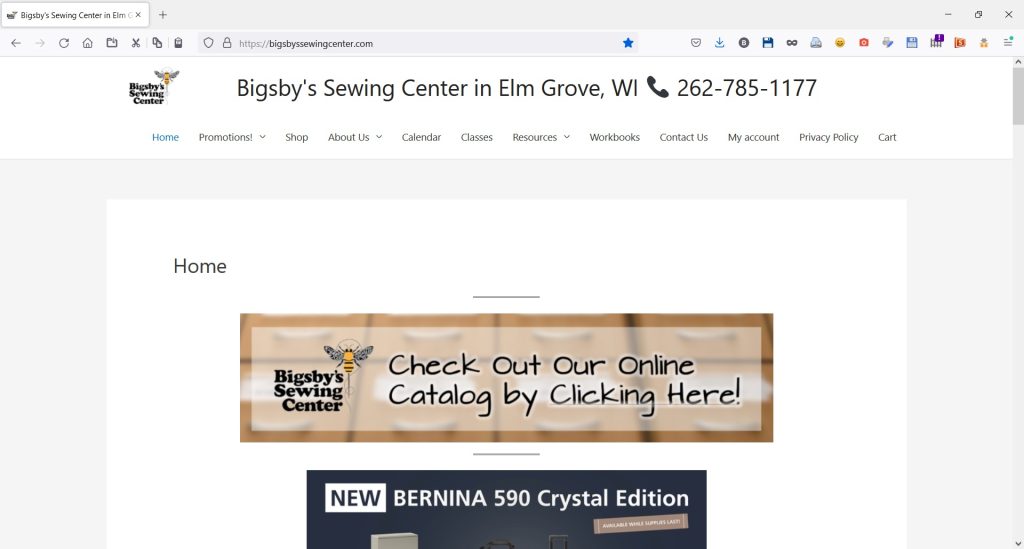
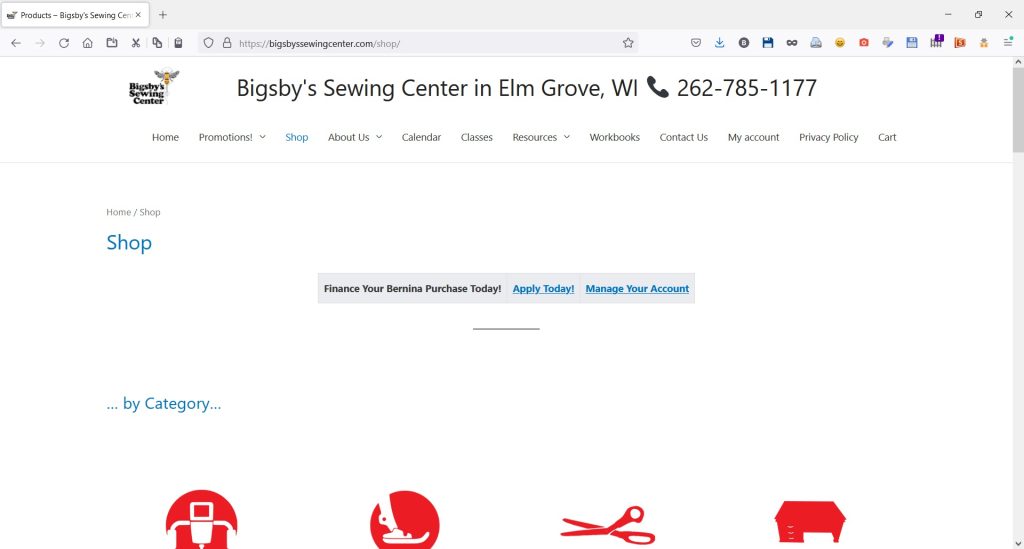
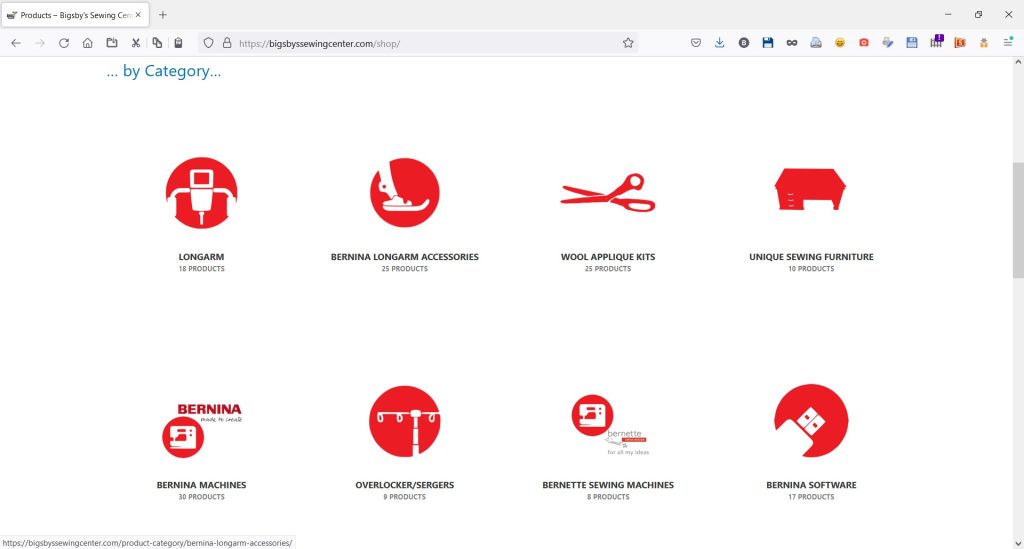
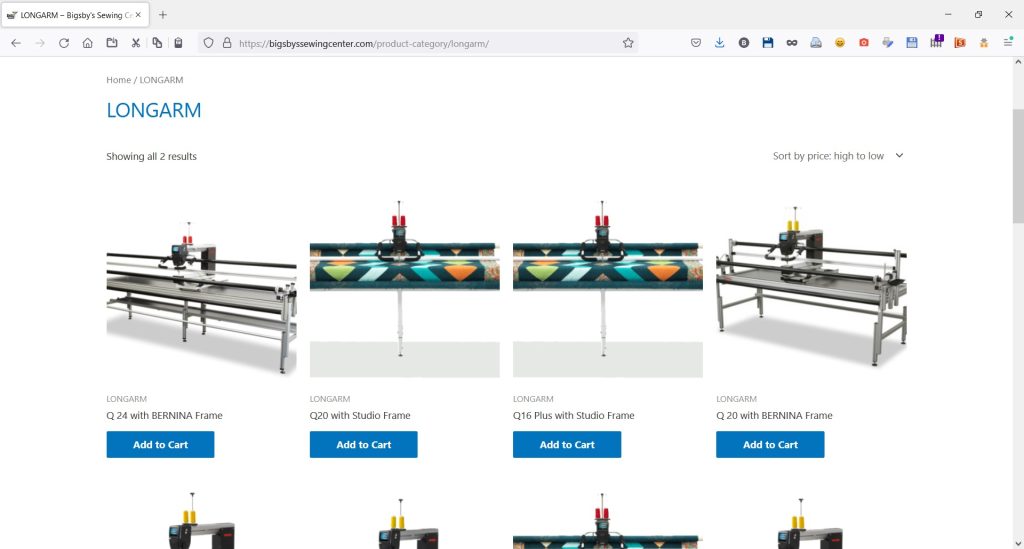
For this project I was tasked with creating an online shopping cart for Bigsby’s Sewing Center in Elm Grove, Wisconsin, USA. Bigsby’s already had a website, whose style I needed to match. The backend of the site was WordPress.
I began by creating a suitable cart using Woocommerce in WordPress. Because of the requirements of the cart, I needed to make categories for the different products. Because the manufacturer of the machines was Bernina, whose primary media color is a bright red, I chose red for the product categories.
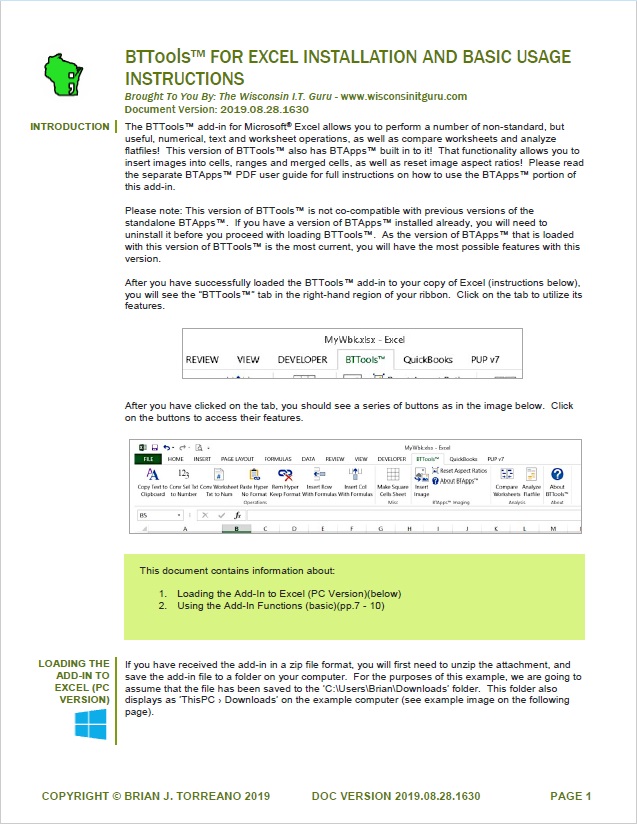
BTTools™ for Microsoft Excel User Interface
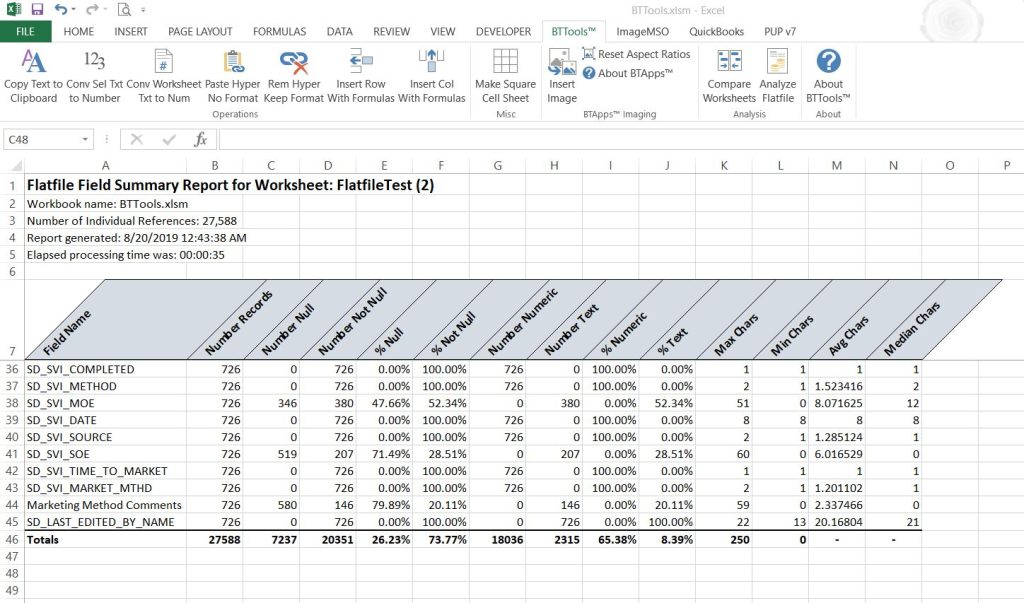
In 2019, I developed a number of macros for use in Microsoft Excel, to ease entry and extraction of data from any Excel workbook. In order to simplify ease-of-use, I made the macros into what is called an “add-in” for Excel. That means that the macros and user interface can be loaded natively into Excel. And can be accessible to the user every time they open Excel.
The first step was to build the interface. Using a number of tools available on the internet, I was able to design the user interface, which is visible in the image below.

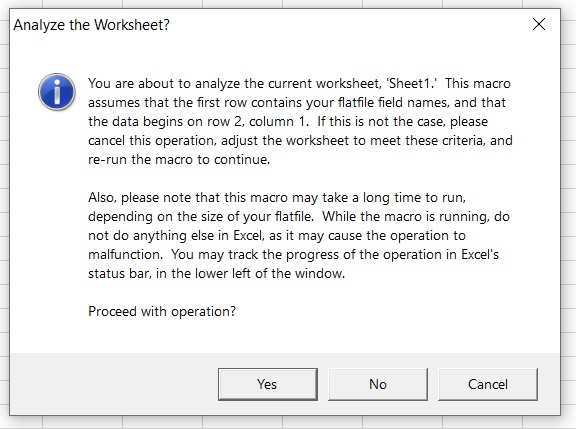
In addition to simplicity of the interface, I tried to make the users’ interaction with the macros as effortless as possible. This was designed directly into the code. Anytime the user needed to interact with the macros, a clear description was given to the user of what the macro required to continue processing. And clear choices were presented. Also, if a step in the processing had the potential to take a long time, the user was first alerted to the possibility. Then, the user was presented with the choice to continue or not.
I believe in adding as much “explanation” and “forgiveness” into the code I write. Computers can be hard enough to deal with. If I could present the user with software that is simple (yet powerful) and easy-to-use, customers will remember that. And come back for more software!
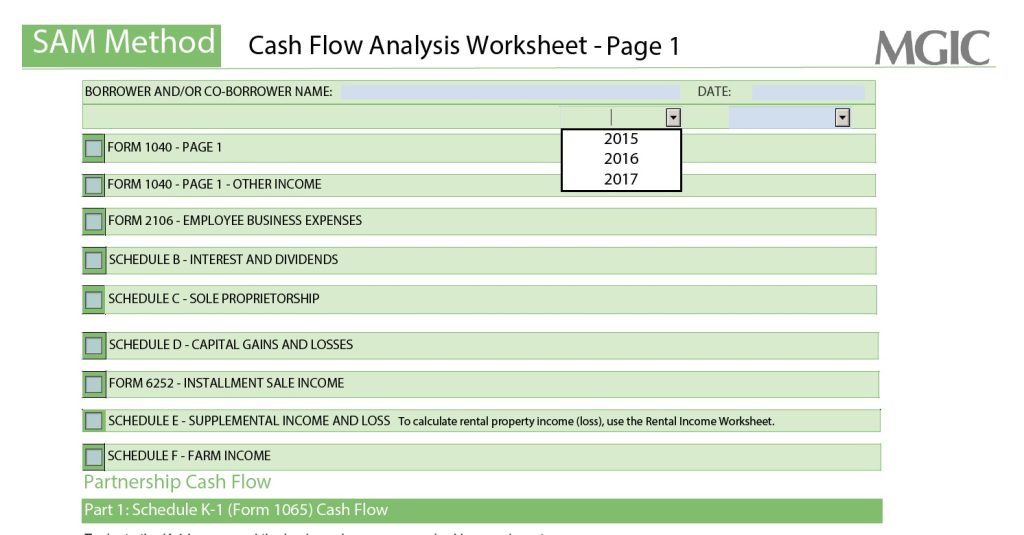
MGIC Company’s Excel Computational Workbooks for the Insurance Industry
Beginning in 2018, I was tasked with converting, modifying and “improving” some industry-leading PDF workbooks that MGIC had created and used. The workbooks, in their existing state, provided MGIC’s customers with the ability to easily perform complex insurance calculations which, in turn, assisted in providing services to their customers.
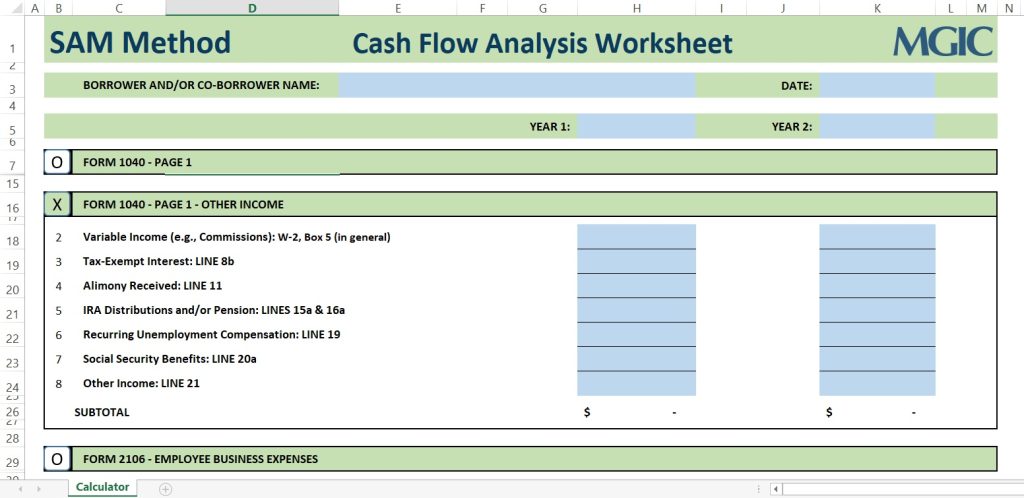
In 2018, MGIC wanted to convert these workbooks to Excel format, for the ease-of-use for their customers and the greater flexibility provided with regard to programming, improving, distribution and security. Coming on the project, I had to scratch-rebuild the workbooks in Excel and keep with MGIC’s formatting and corporate appearance guidelines, as well as maintain existing “looks” and functionality.
I essentially had to write all of the macros for the workbooks from scratch, as existing code was not available. Also, I presented ideas to MGIC regarding things that could be improved, from both a functionality standpoint and an end-user ease-of-use standpoint.
The first rollout of the workbooks were highly successful, and as tax laws change every year, improvements and modifications had to be made annually. Each year, the workbooks were built upon and improved. This was highly technical, as to include all of the features that MGIC wanted, I had to leverage macros, conditional formatting, formulas, hidden worksheets, and other intricacies of Excel. All working in concert, together, to complete the tasks.
I continued to work with MGIC until 2022 on the project. They were extremely happy with my work, and I would still be working with them if I had not moved to Costa Rica and been unable to continue with them. Please find below some examples of my work on this project.
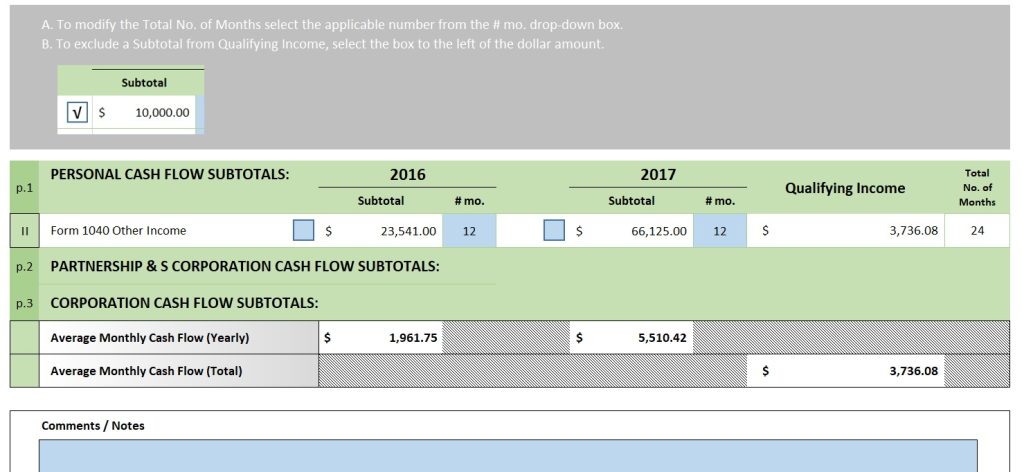
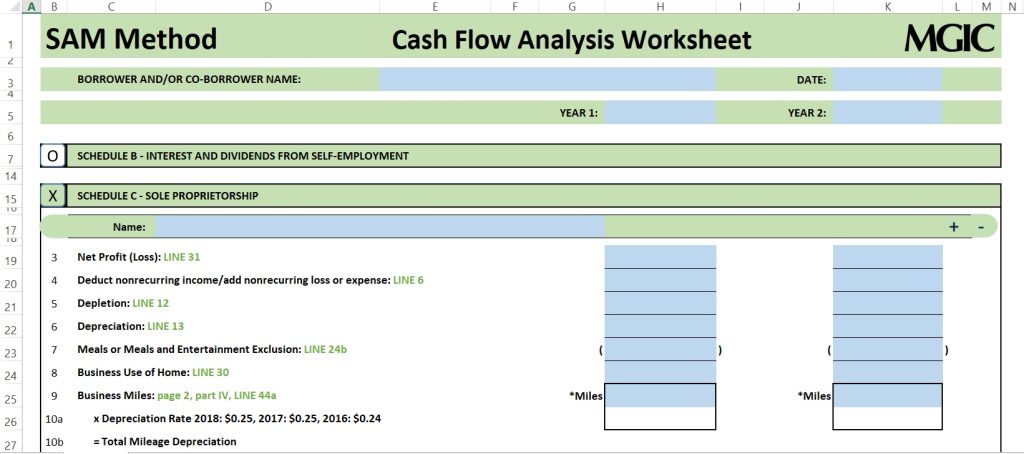
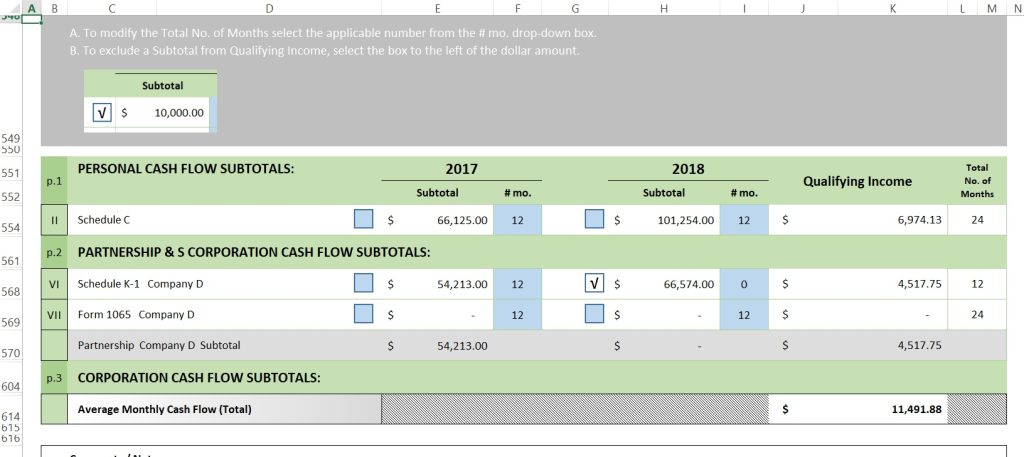
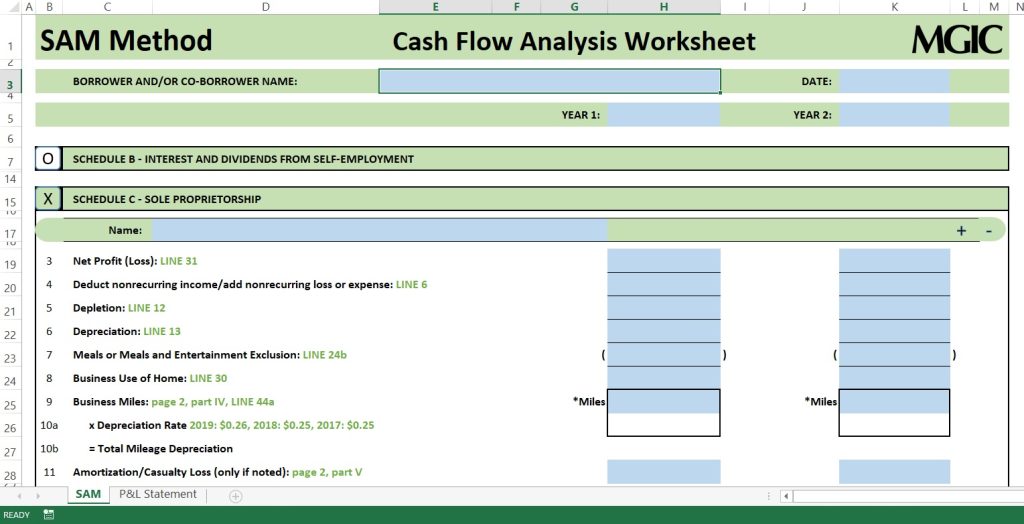
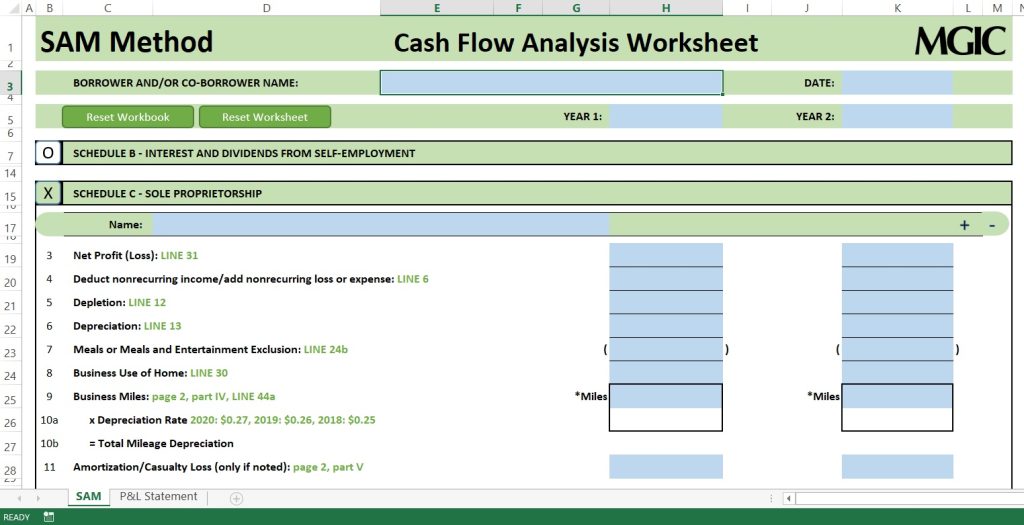
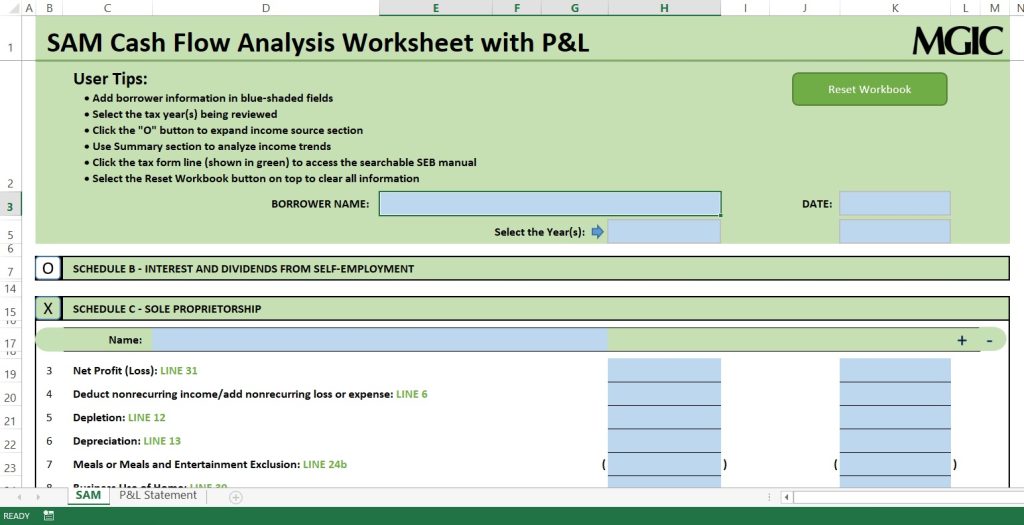
In all, over the five years working on this project for MGIC, a PC and a Mac version of each of five workbooks (of which SAM was one) had to be maintained. This required a high level of retention of the knowledge of how to change things in the workbooks without messing other functionality up. A lot of note-taking and user-guide making had to be done!